EARLY MORNING FLOW
Morning Drowsiness for Ideas
Another week has passed and the time for another experiment has come. Yet, I was still at a loss for ideas to carry out. As cliche as it sounds, I woke up one morning still hanging between the dream state and real life, and inspiration struck: I like Tea, what If i create a interface that teaches people about brewing tea? Ideas for visuals and interactions sprang into my head, and I was jolted awake to rush to school.
To create a Touch-Visual-Audio interface that educates people about the adequate water level and steeping duration for The First Infusion.
As users pour into the Brewing Cup, they will receive auditory feedback as the adequate water level is reached. On screen, the leaves essence radiate and cascade, symbolising The Infusion. This observation of leaves also aligns with the practice of observing tea leaves unfurling during the brew.
The Chinese Tea Ceremony is built on short, successive infusions, beginning with the brief Rinse, which is poured away after quickly awakening the leaves. True tasting begins with the First Infusion, which demands meticulous precision in both water level and steeping time, as deviation risks a bland or overpowering taste. During this crucial infusion, participants often observe the tea leaves unfurling within the vessel, a visually meditative process that enhances the appreciation of the developing color and essence before the final pour.
Video of Cascade of the First Brew
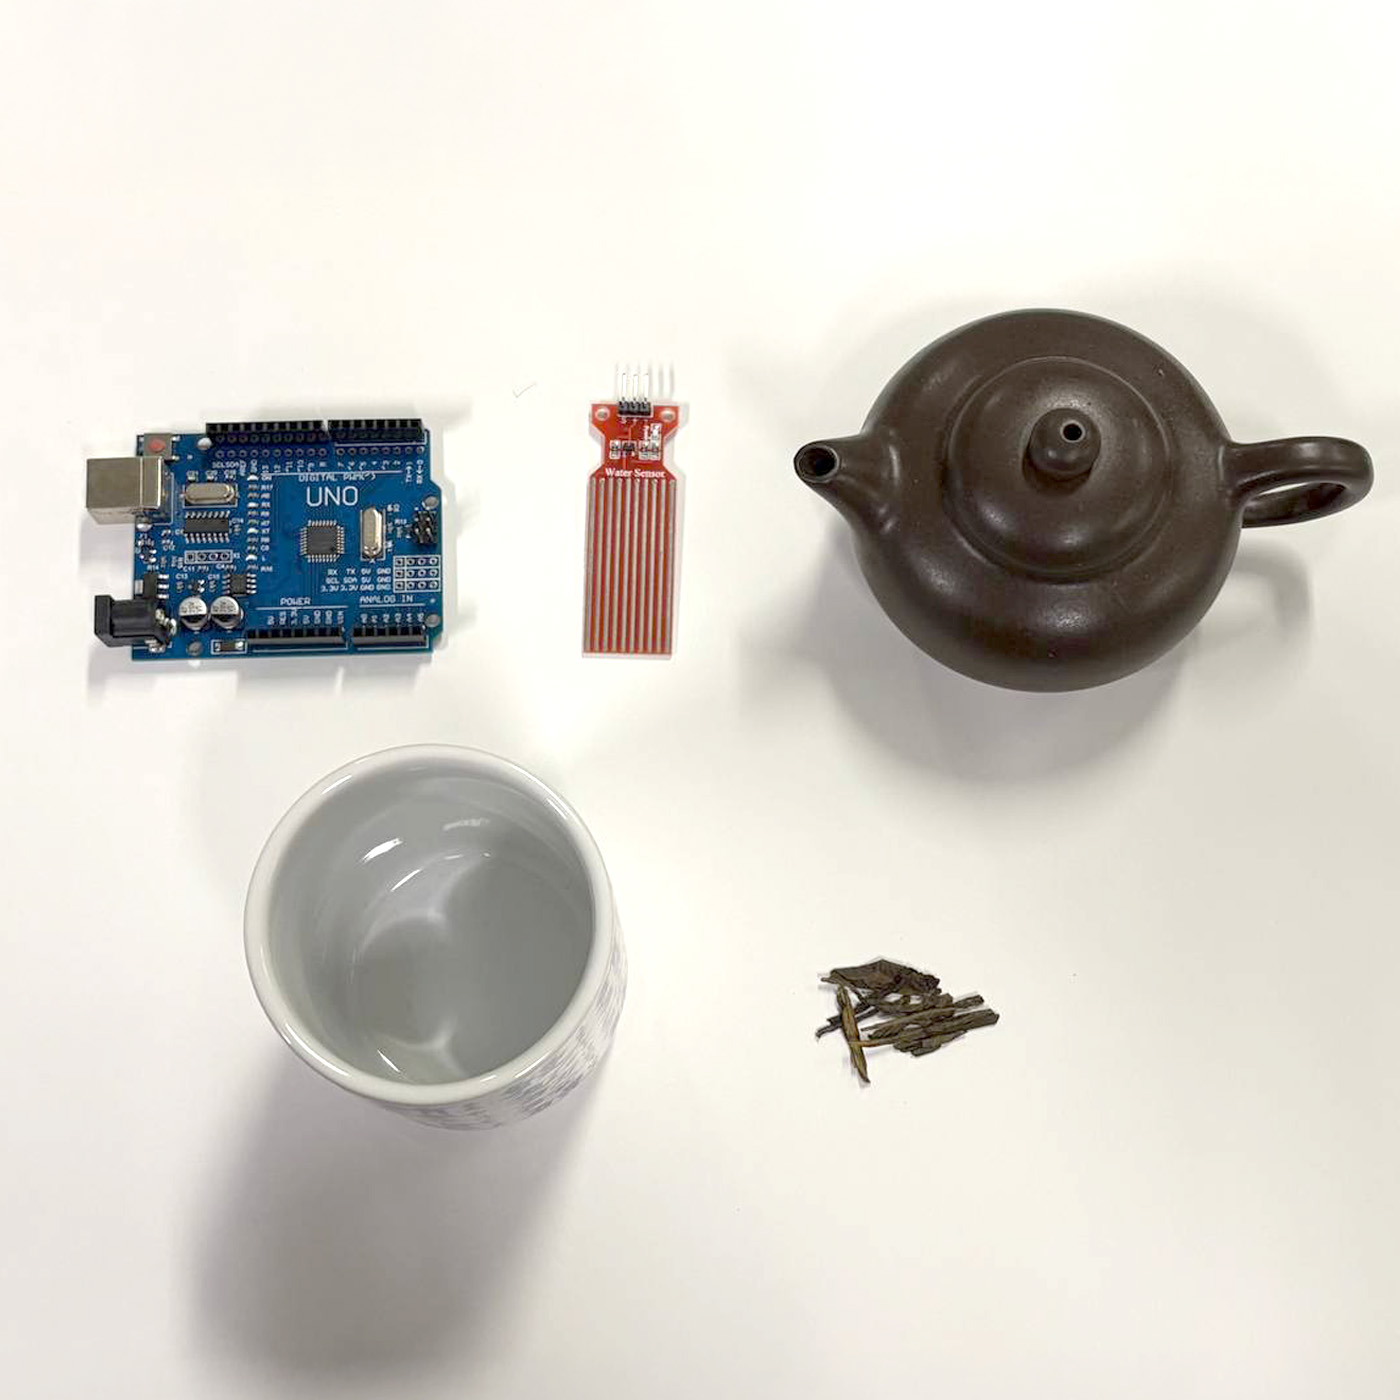
Arduino, Water Depth Sensor, Pot, Cup and Leaves
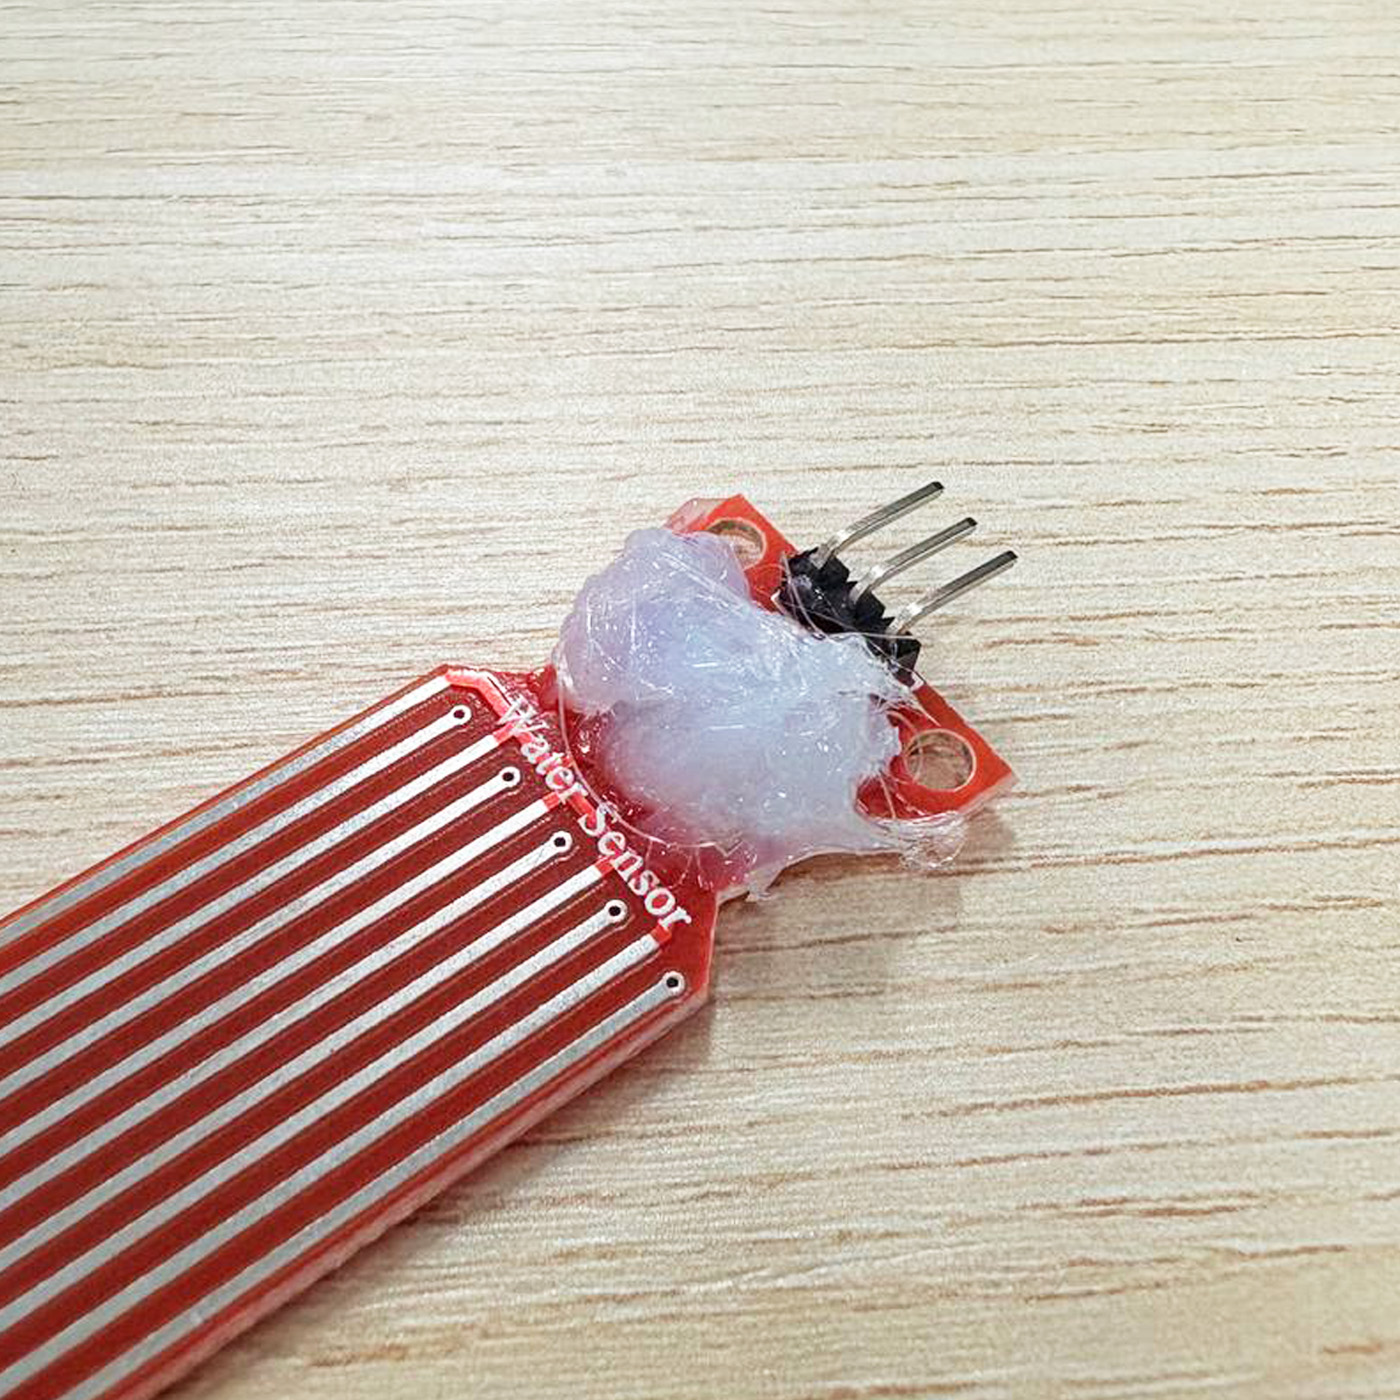
Hot glue on PCB of sensor
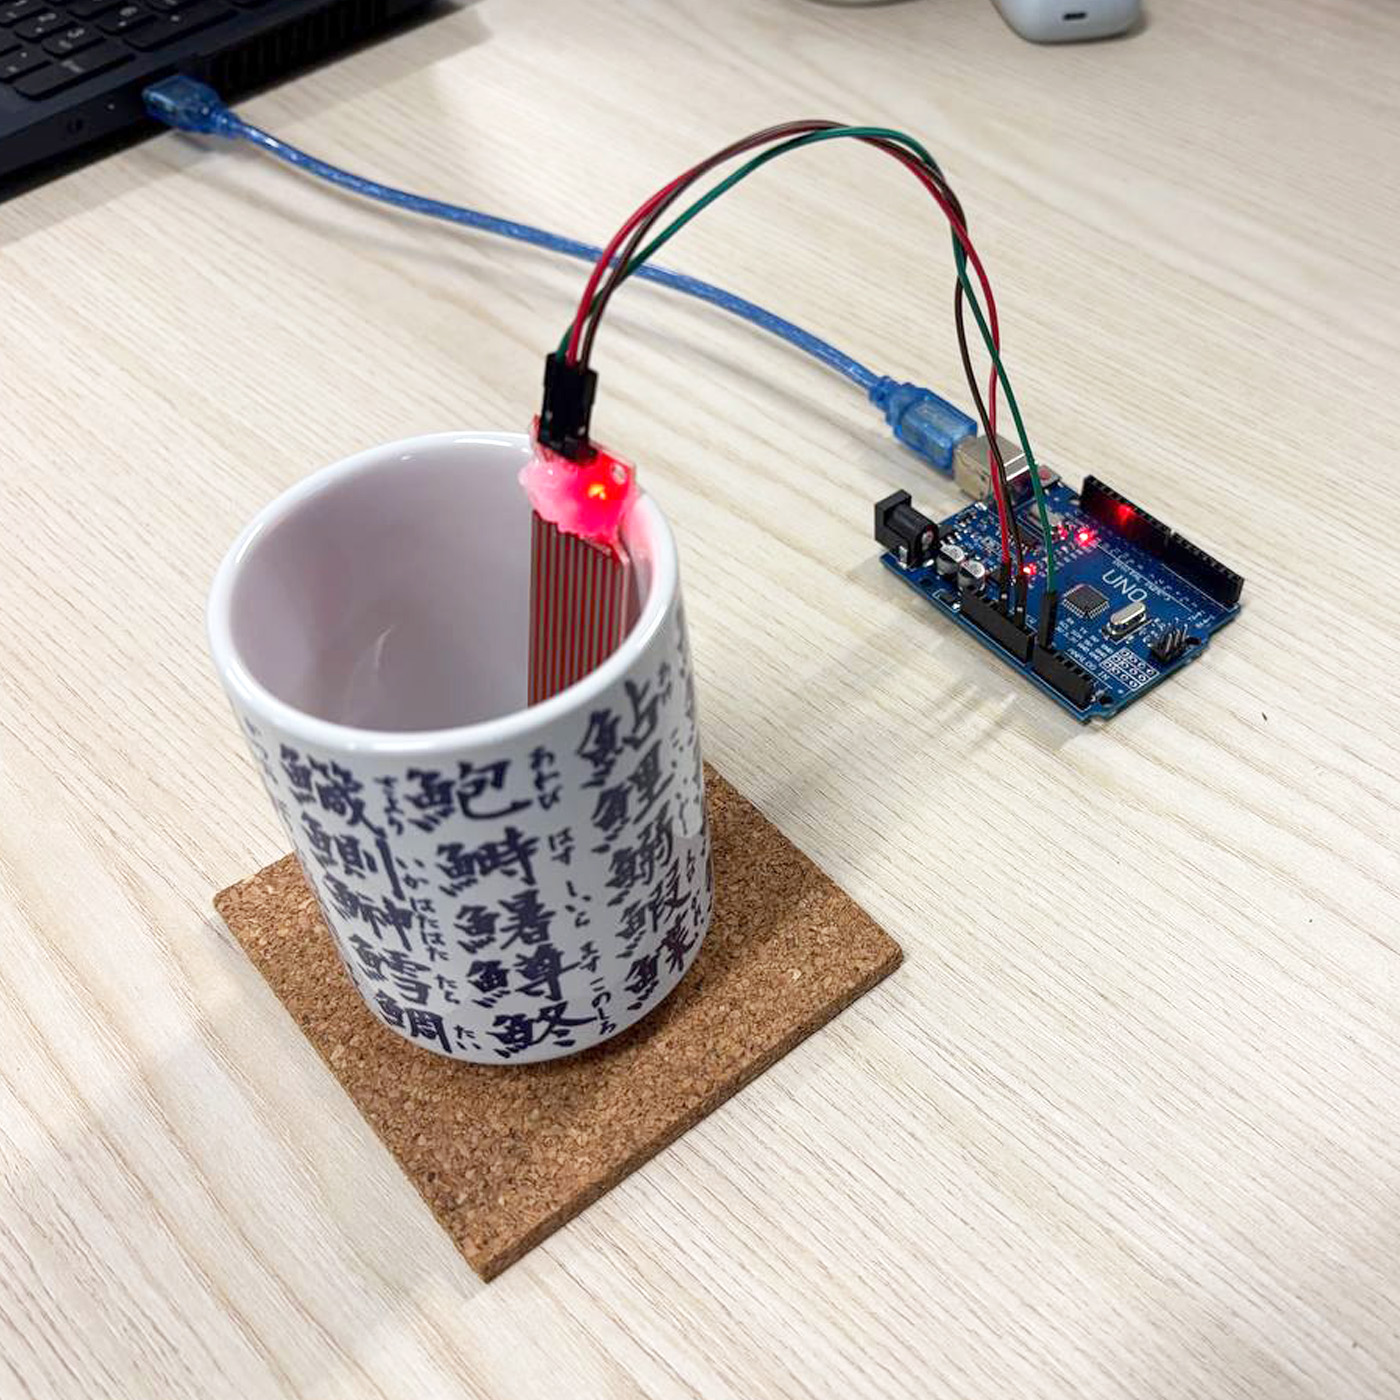
Attached onto cup
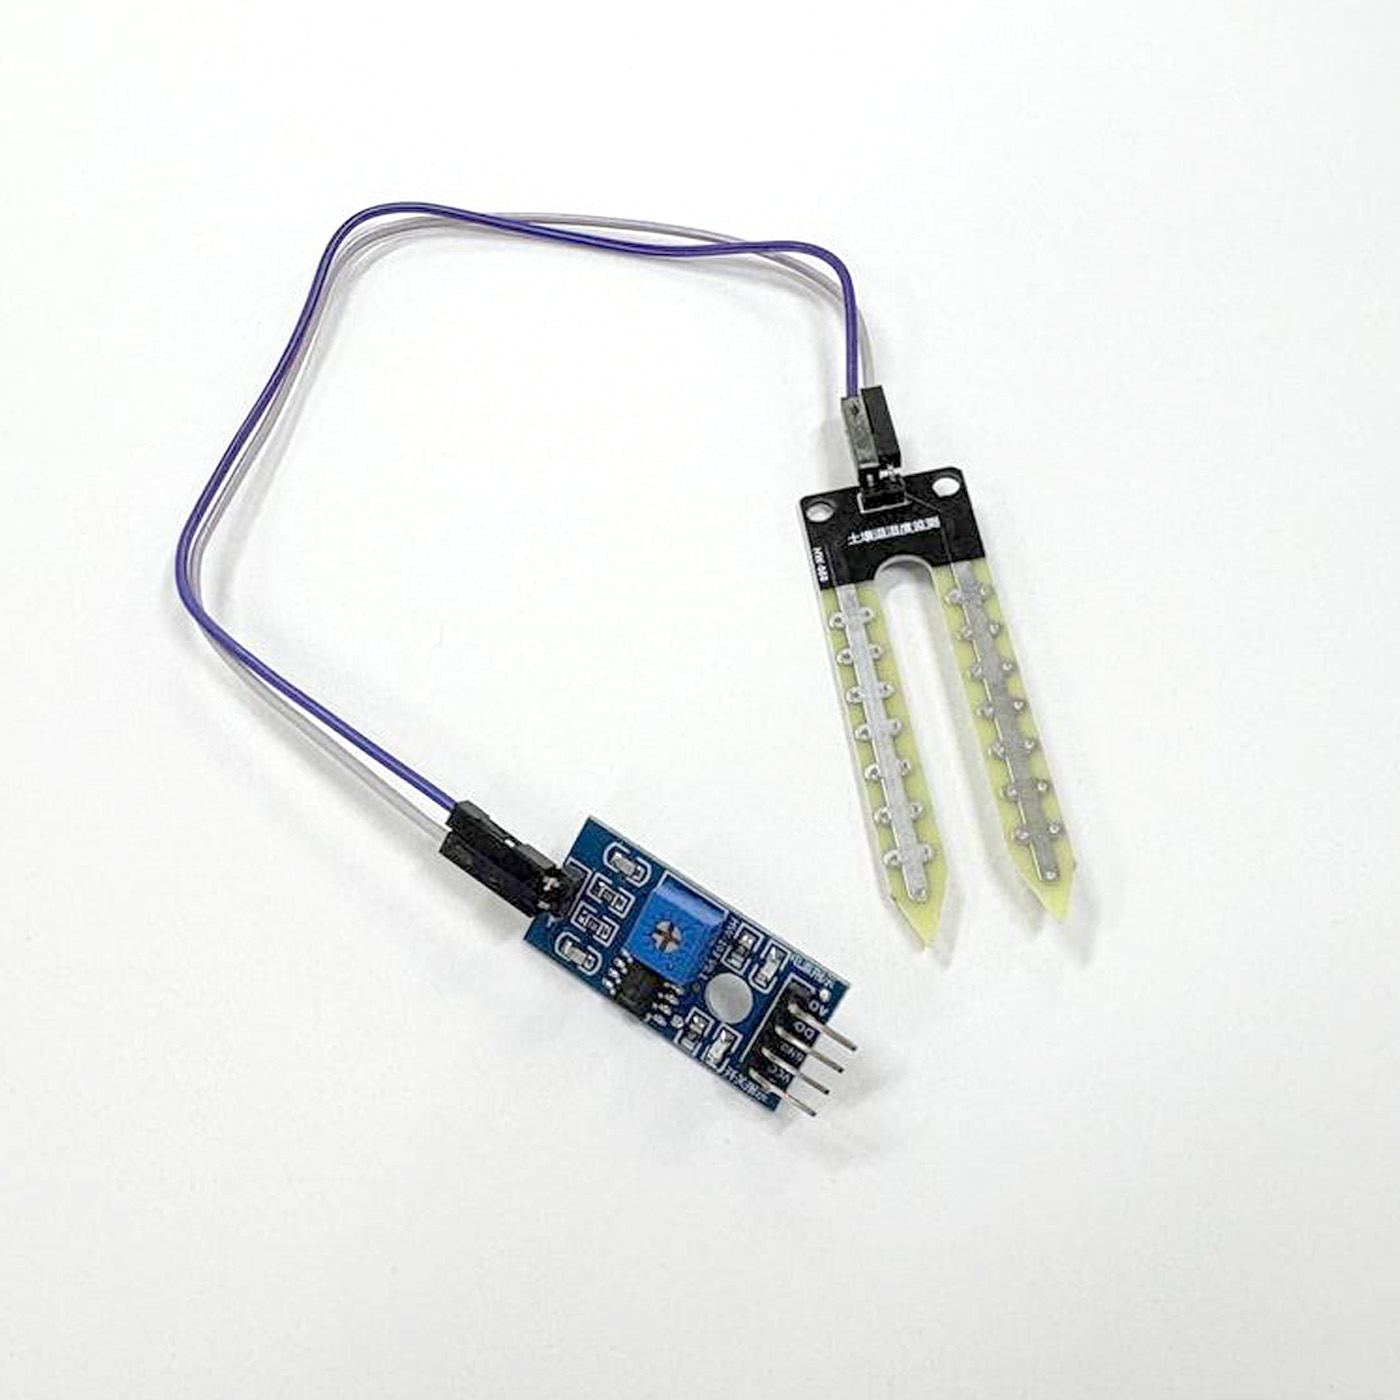
Soil Moisture Sensor (SMS)
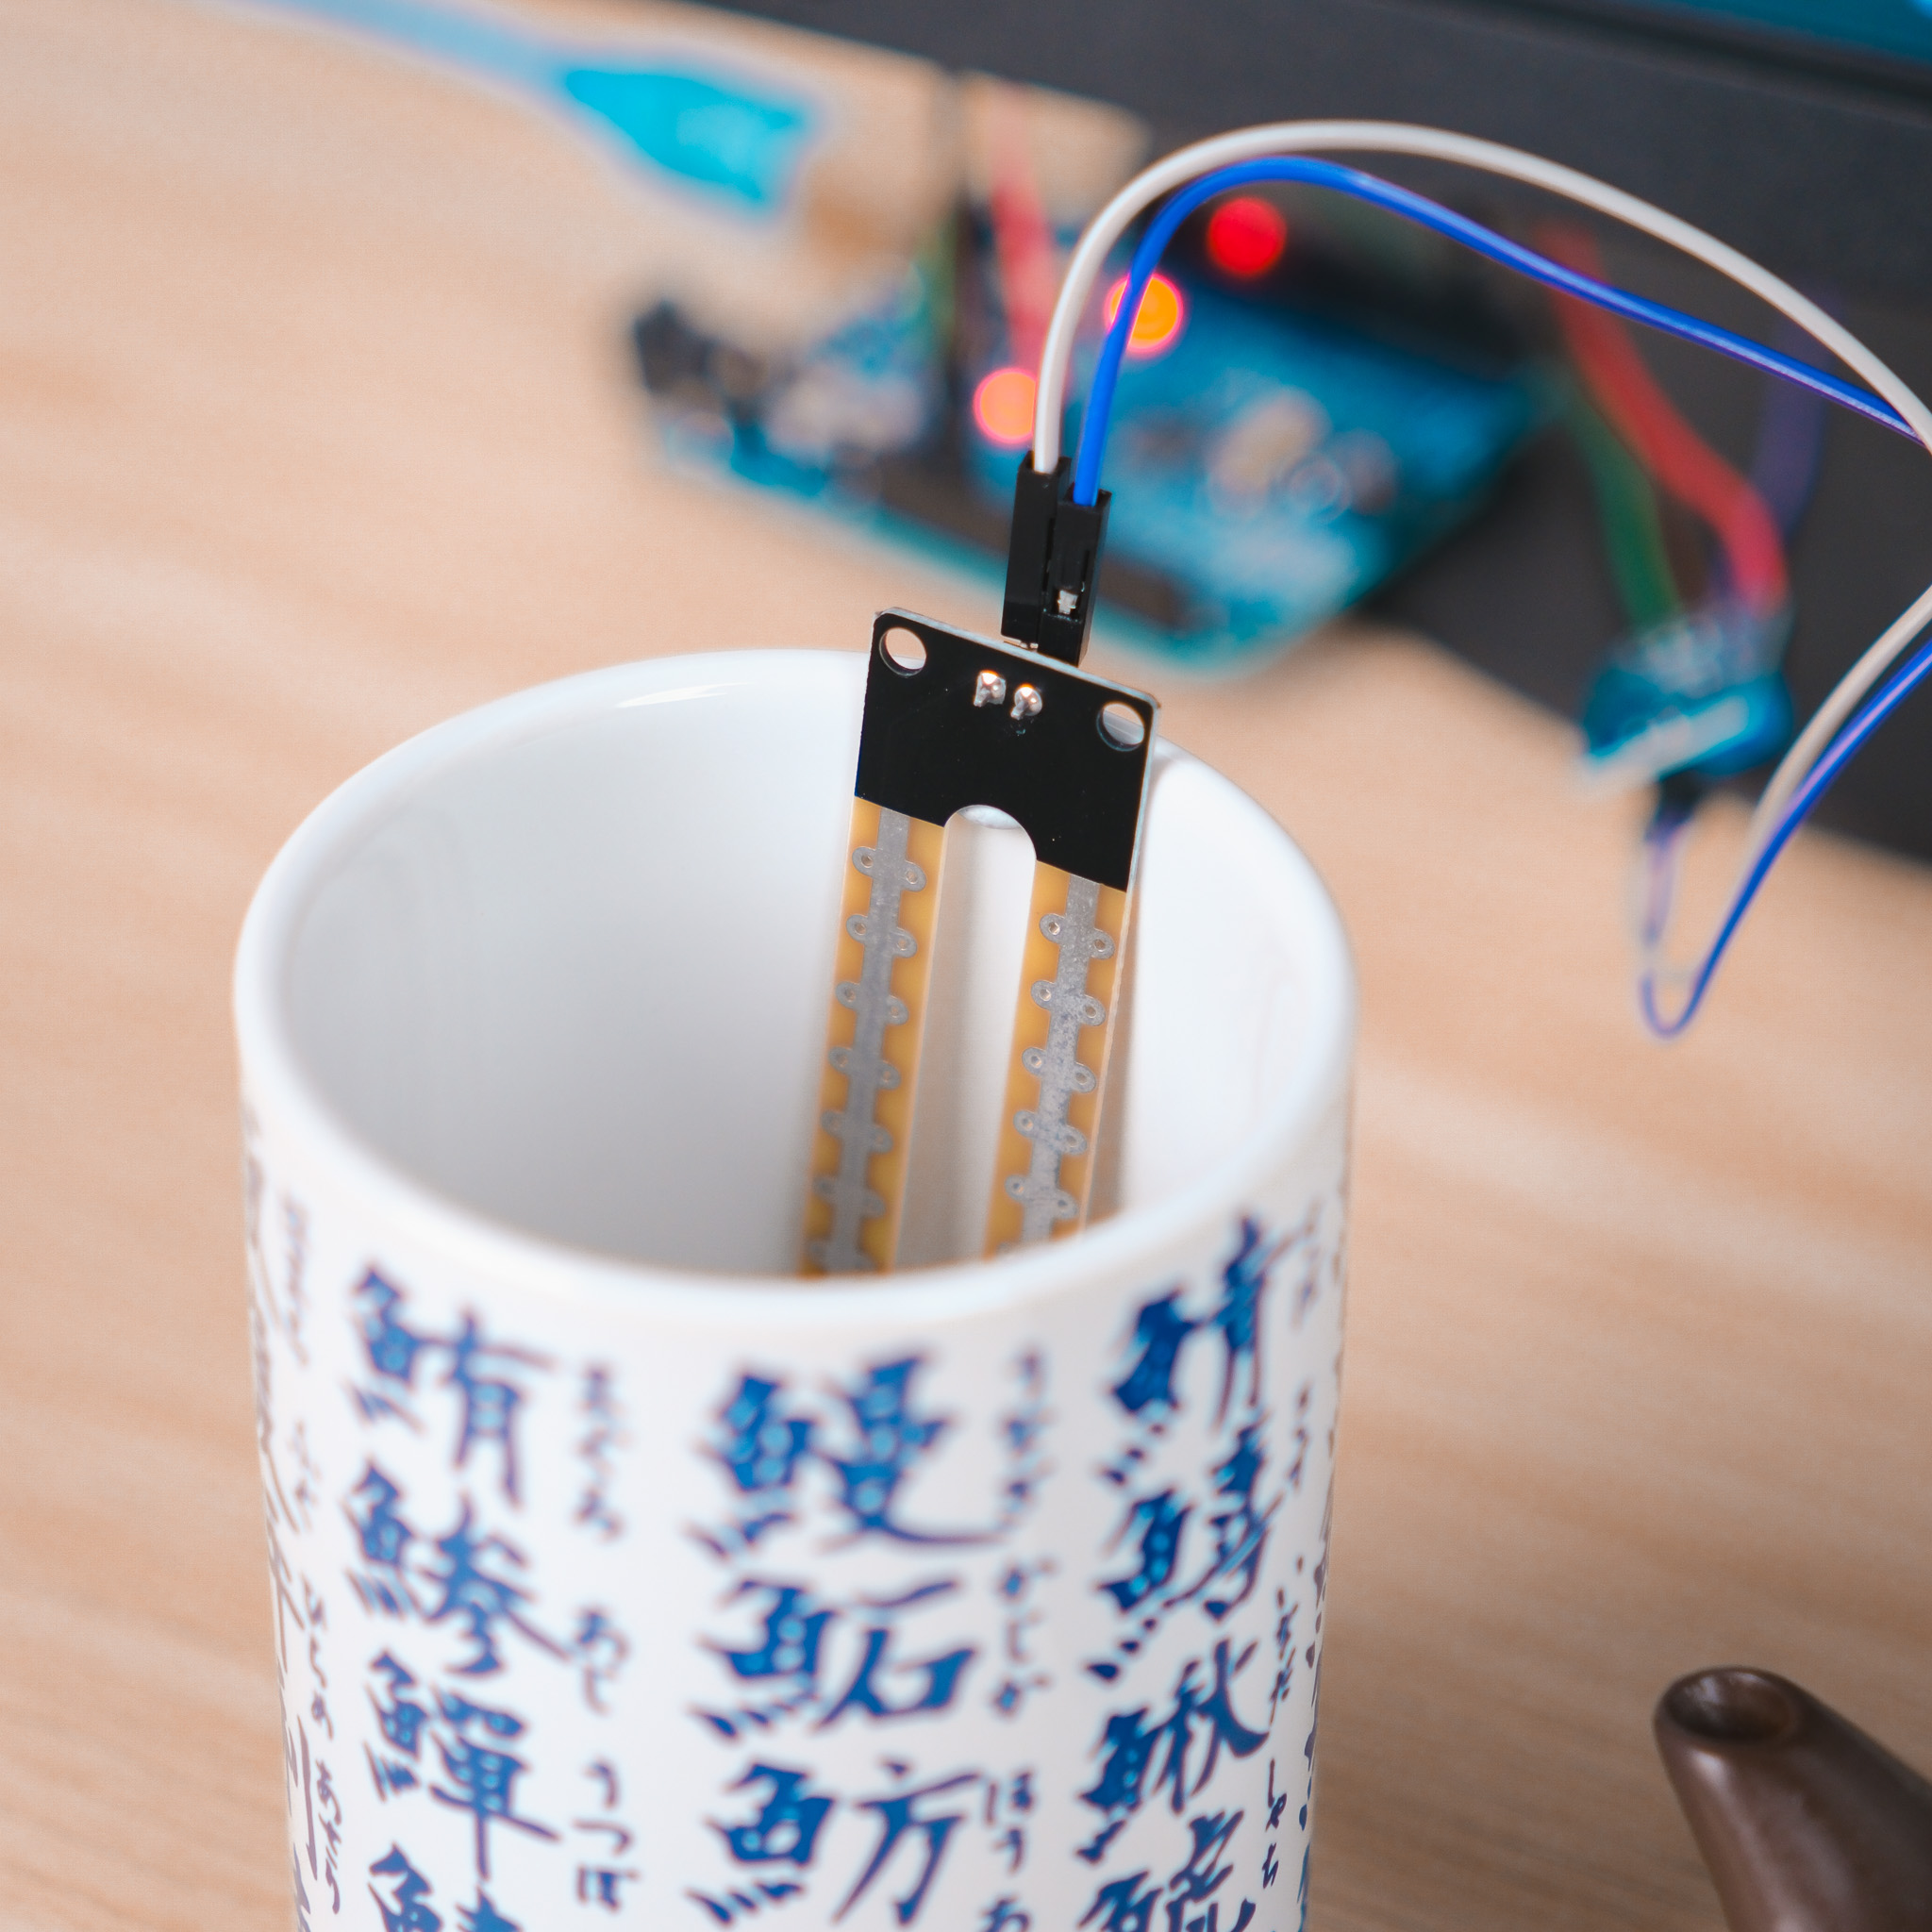
Changed to SMS as it was more reliable
I first gathered the items I needed for this experiment, basically can be grouped into parts: The Arduino and the Brewing Tools. For the Arduino, I decided to use a Water Depth Sensor to help measure the water level. For the Brewing Tools, I used a simple pot for water and a Brewing Cup meant for tea leaves to be brewed within. I wanted to put the tea leaves inside the brewing cup, but I found it quite troublesome to clean up after each use so I scrapped it (for now). Later on, the Water Depth Sensor was replaced for a Soil Moisture Sensor as the former turned out to be quite unreliable. More on this in the Challenges section later. For the Arduino code, I just needed a simple code that registers 3 different water level states that can be serial printed into TouchDesigner, which I done with the wonderful help of Claude!
Another Great tutorial by PPPANIK
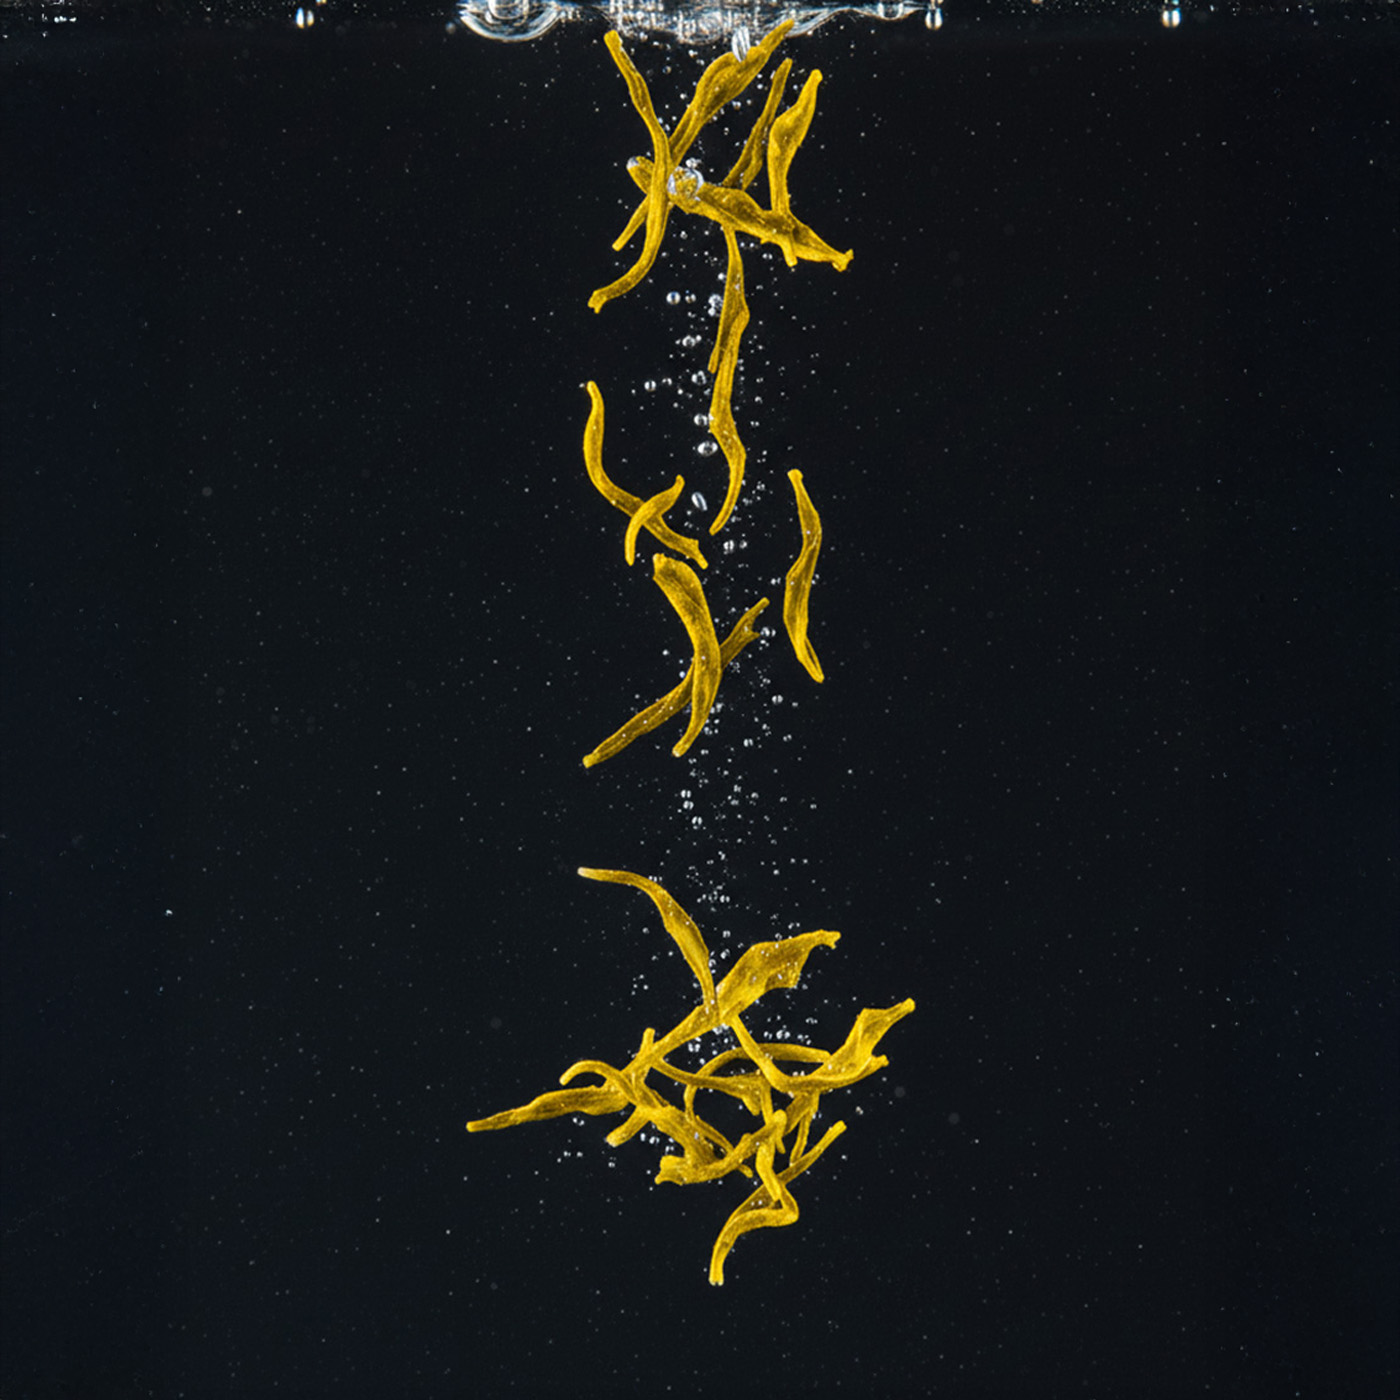
Original Image
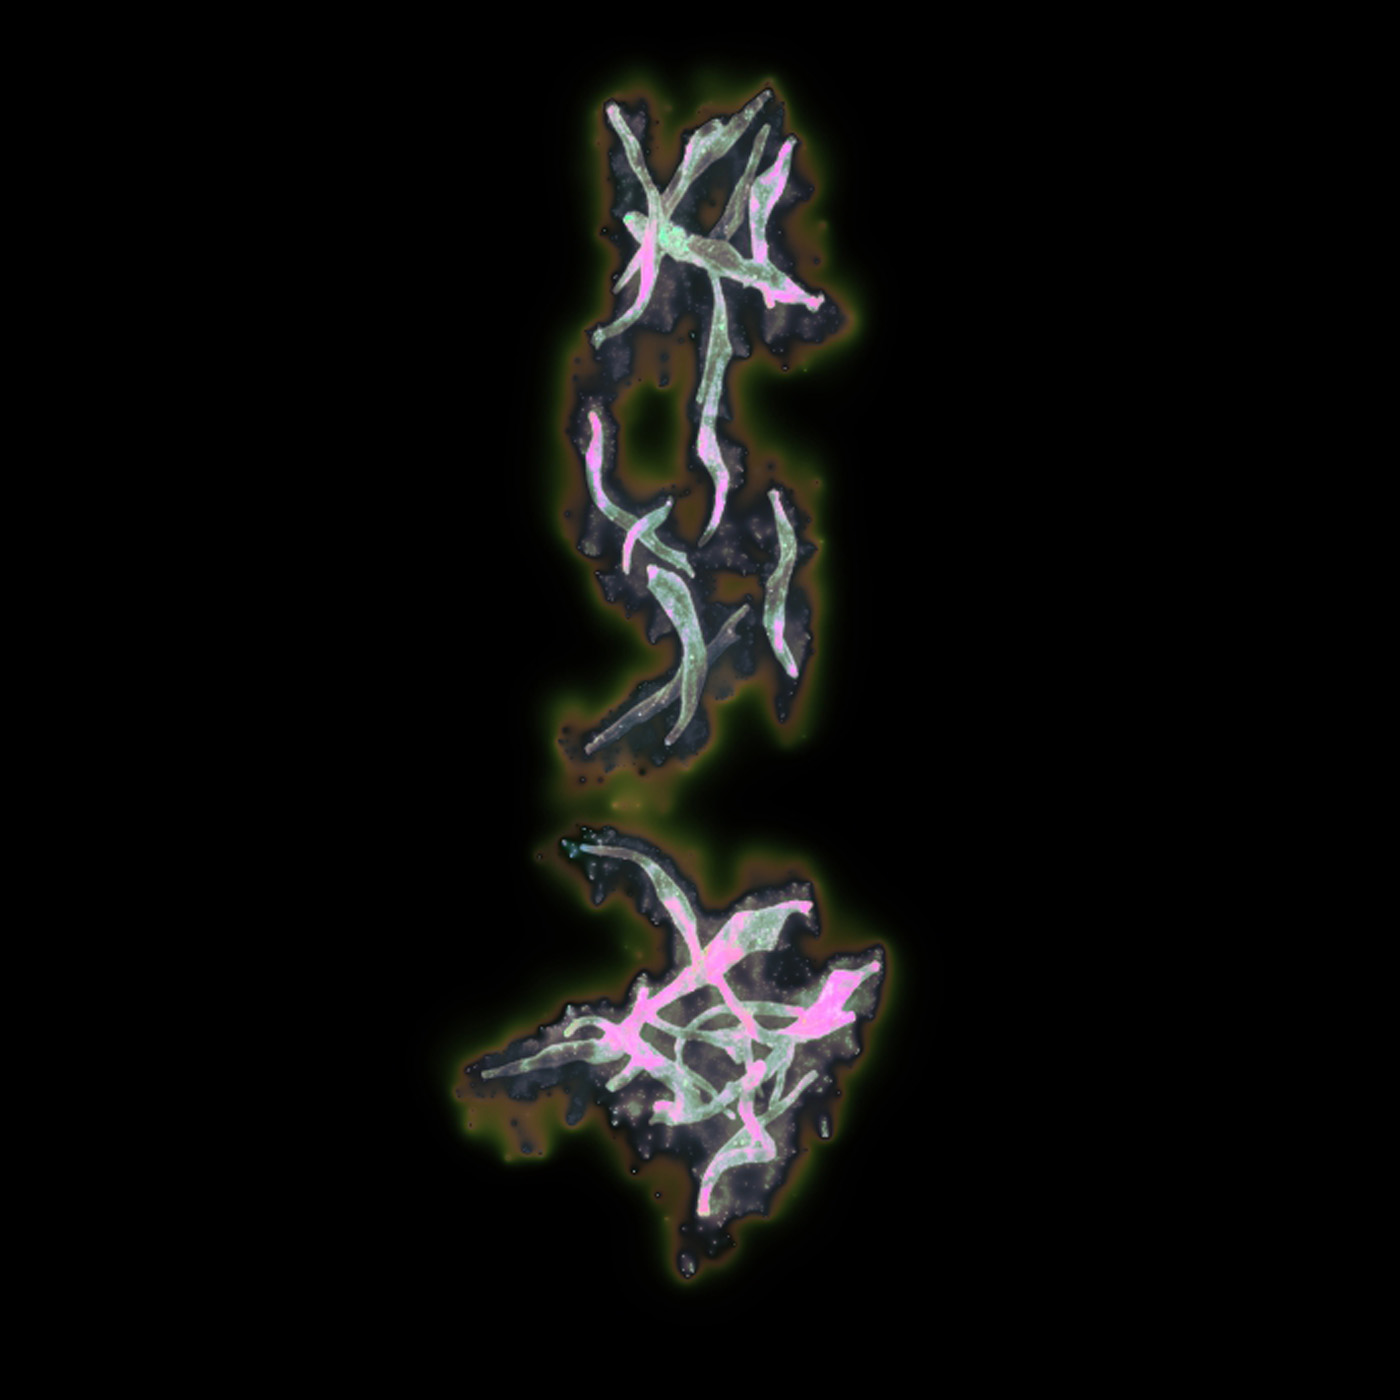
TouchDesigner Visual
Once again, I started by looking for tutorials that have a outcome that fits the vision that I have. I wanted to have a visual on screen of the tea leaves, radiating its essence outwards, slowly filling the canvas symbolizing The Infusion. I saw another tutorial by PPPANIK that I felt had that same energy. Thus, I learnt from the tutorial and created the visual, using a source image that I AI generated of oolong tea leaves (free image sites do not have great shots...)
Creating the Particles (Essence Visuals)
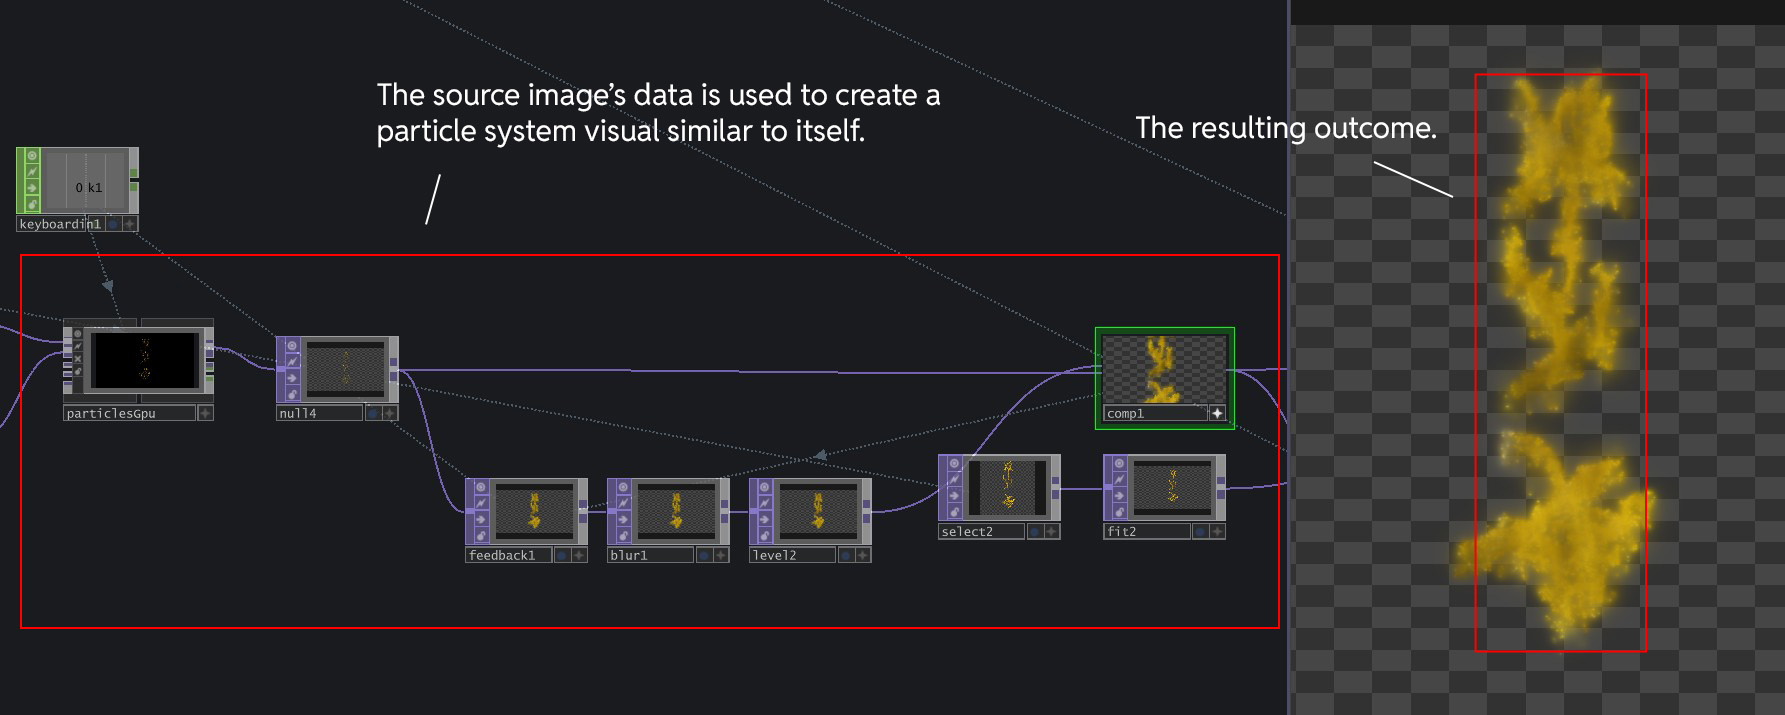
As usual, I decided to study and break down her use of nodes to learn some technicalities of TouchDesigner and to better change the visuals later on. The radiating, essence like visuals was created using Particles System, which turns the source image into particles similar to its original structure. The particle system is also ran through a Feedback Loop, to create some overlaying/blur effect of the particles.
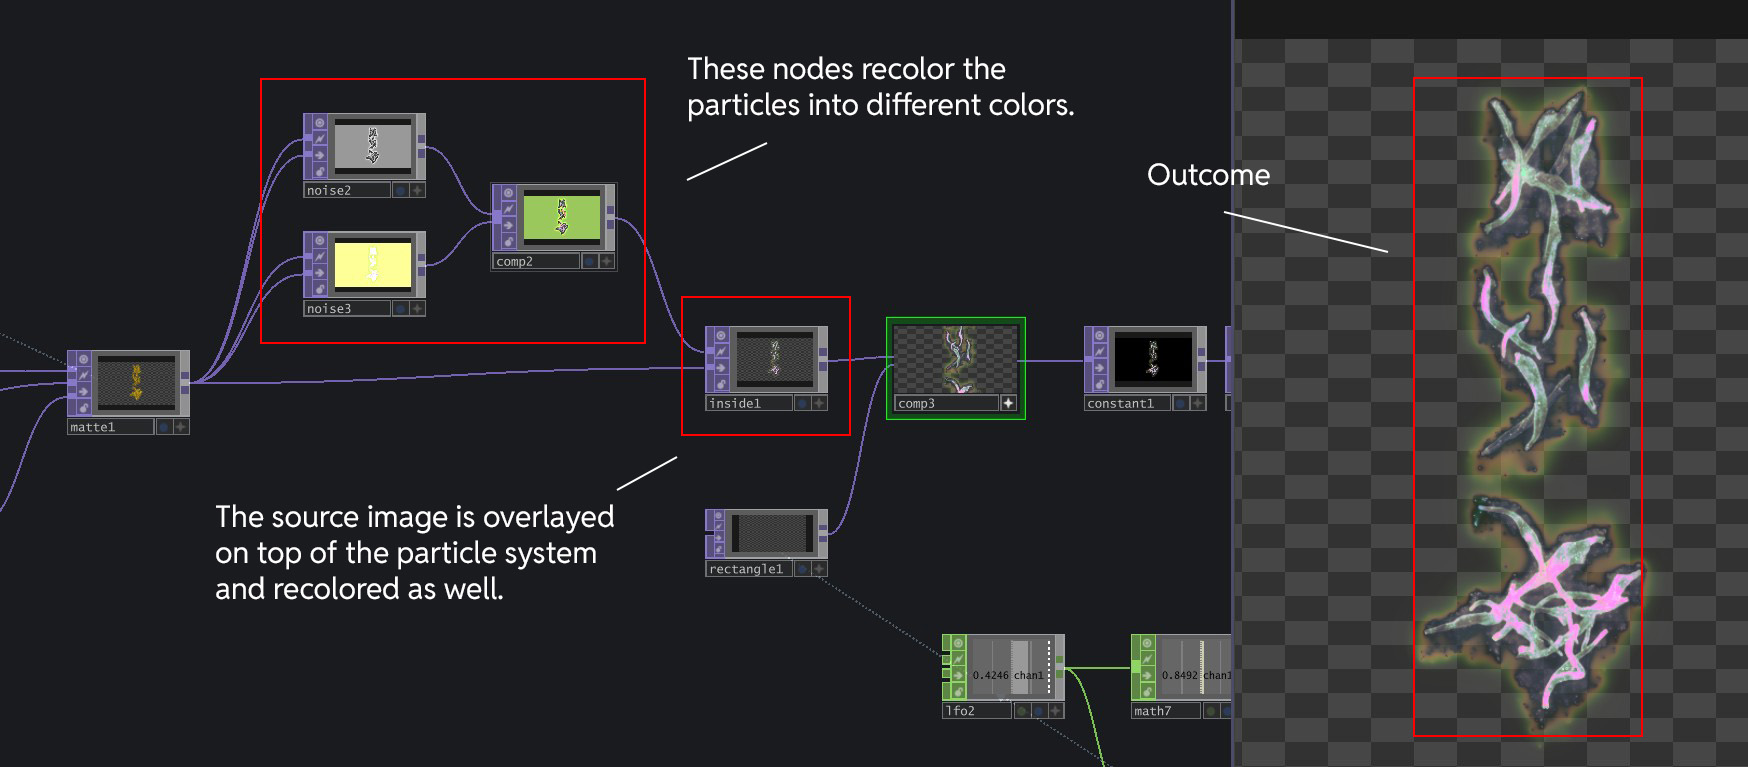
Particles recolored using Noise TOPs, with another instance of the source image recolored too and overlayed on top
PPPANIK uses the Noise2 and Noise3 nodes to recolor the particles that was generated at the previous step. This recolored particle system is then placed behind another instance of the source image, which is also recolored by the same Noise TOPs due to the Inside TOP.
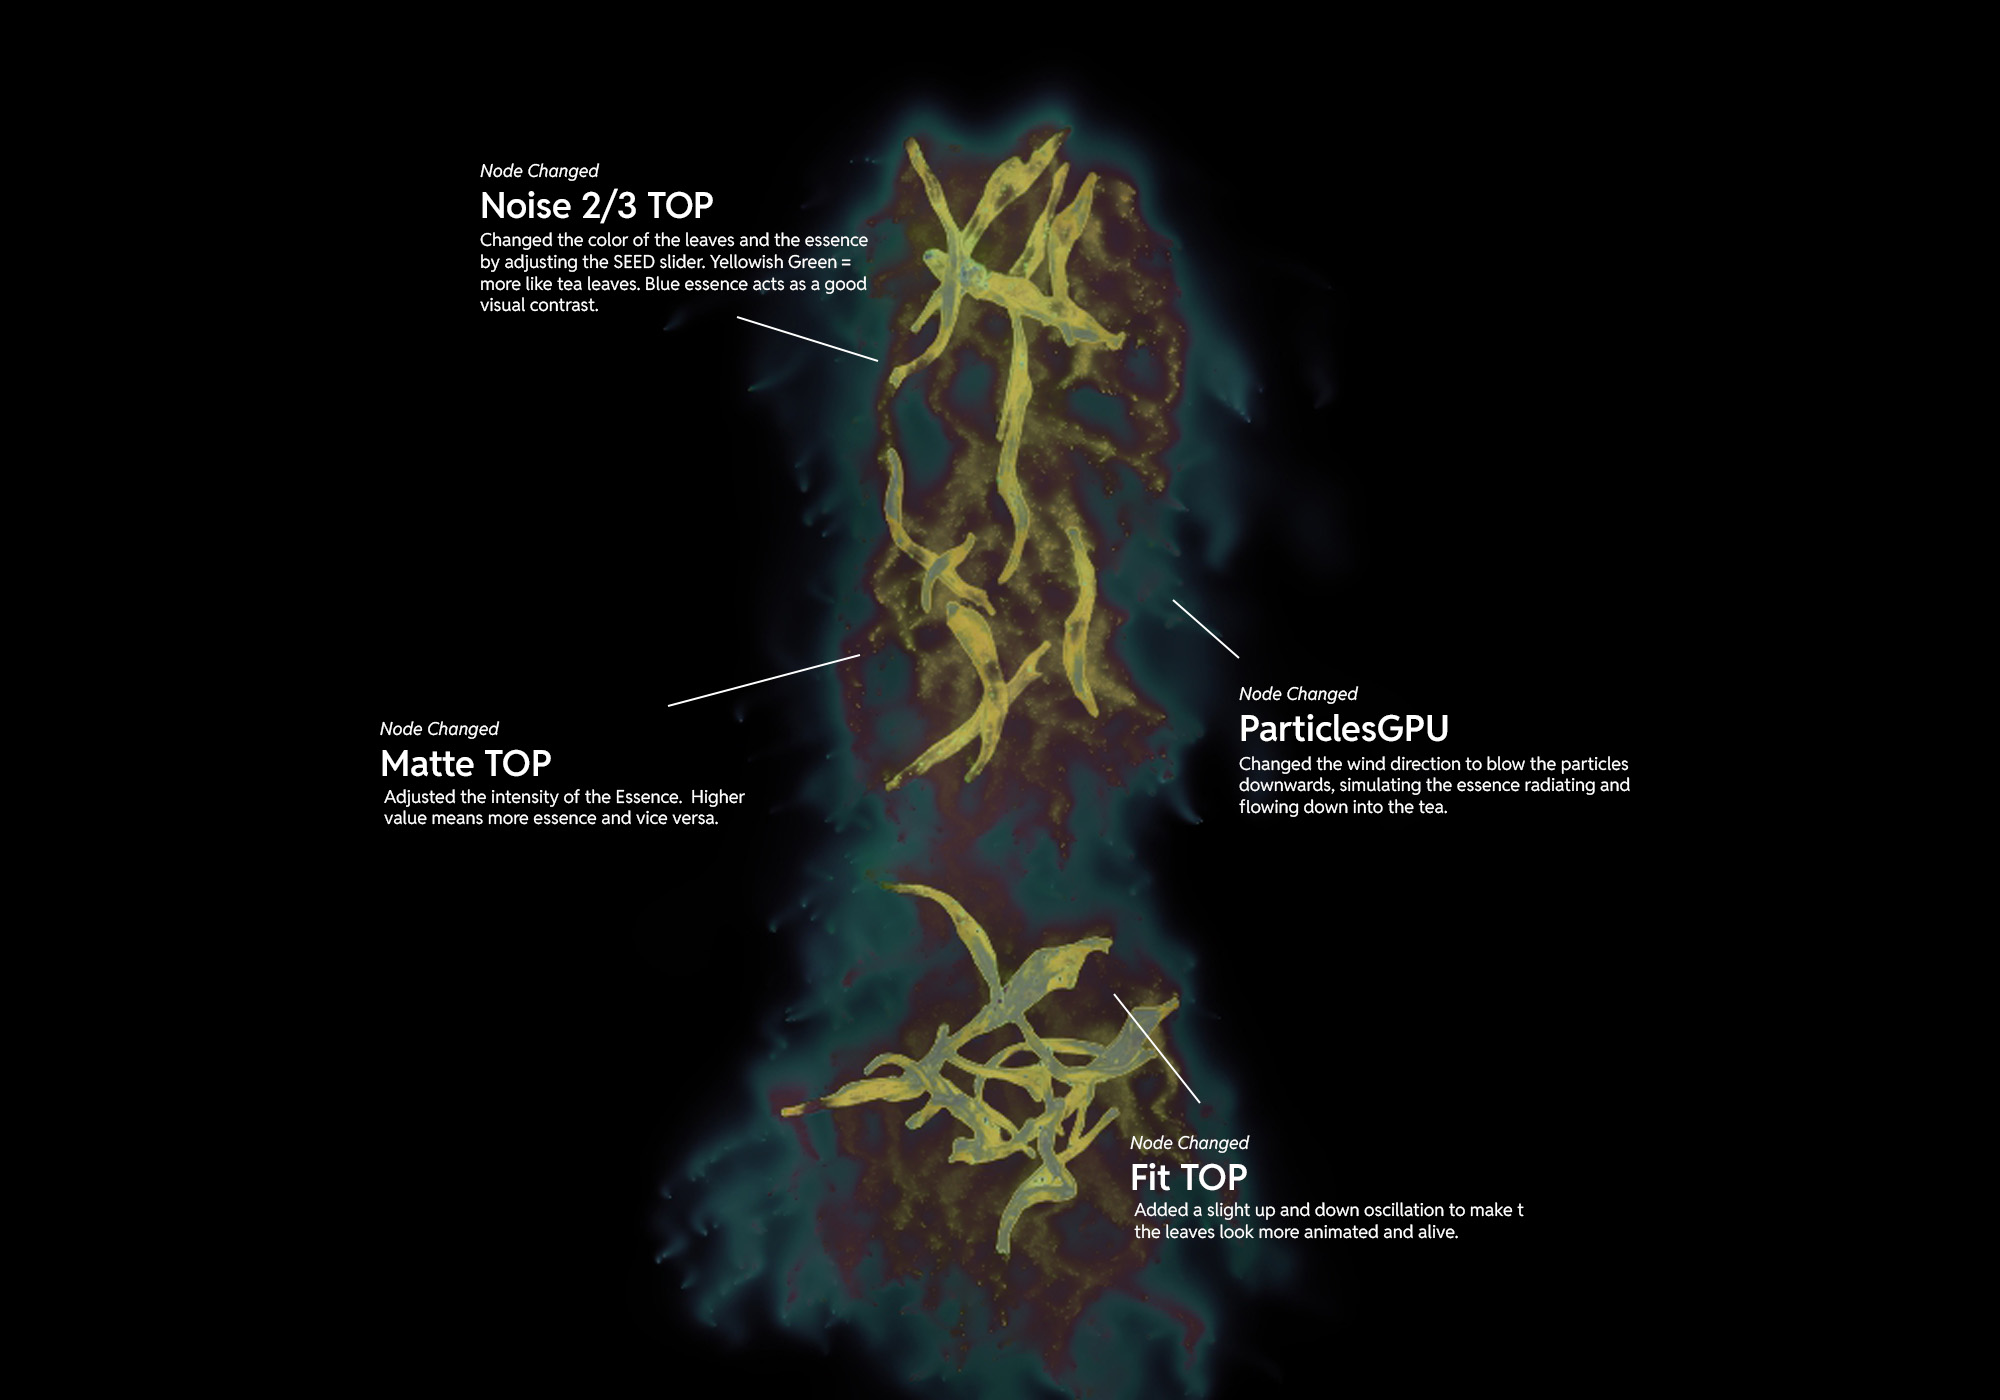
Main Nodes and what I changed.
Above is not the full extensive nodes that I changed, but those are the main ones. After understanding how the visual worked, I slowly tweaked the nodes one by one to be closer to the leaves visual that I wanted -- leaves radiating its essence downwards slowly as the tea is brewing in the physical brewing cup.
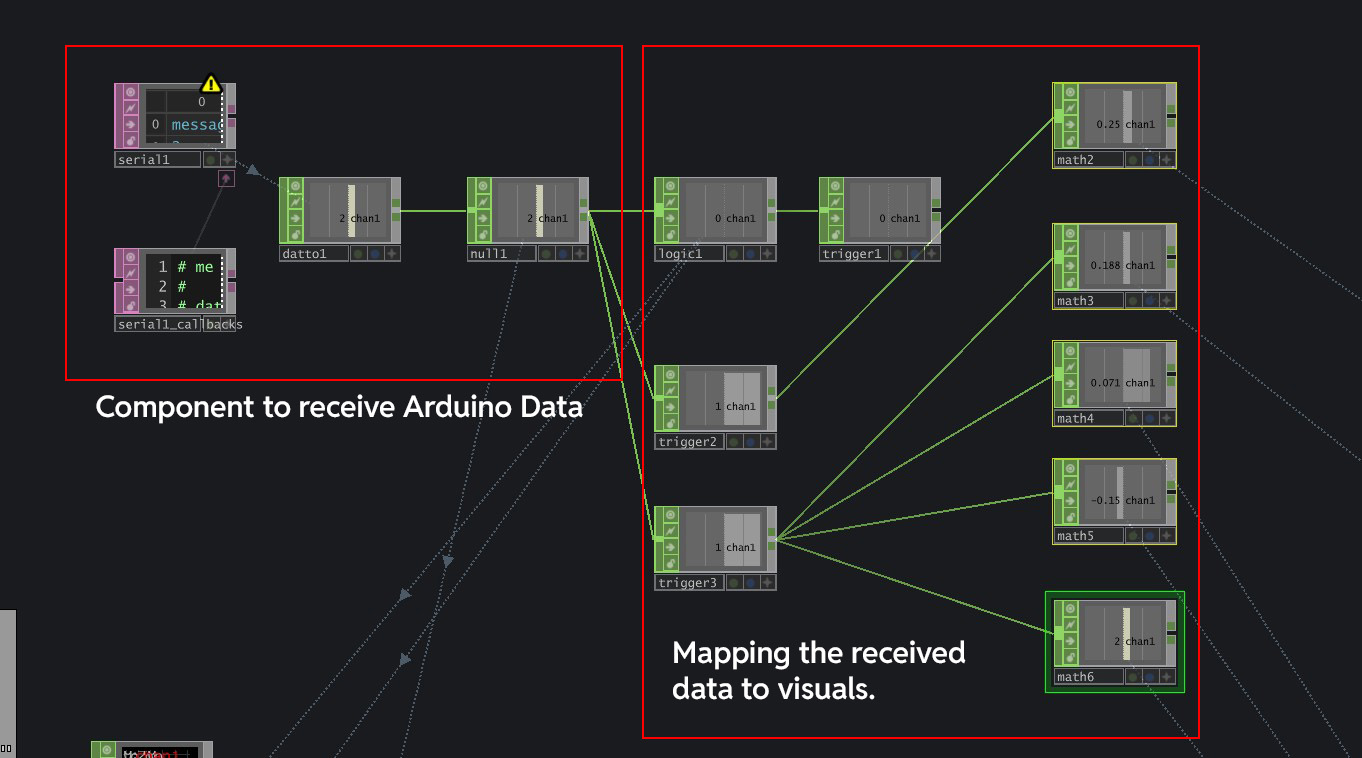
Arduino data imported with Serial DAT, mapped to various value ranges to change visual and audio
Now with the visuals done, all that is left is to map the water level data into TouchDesigner and have
them control the visuals directly. The Arduino data I had returned three different values
I had issues with the Initial Water Depth Sensor as it was constantly changing the threshold values. For example, on my first attempt, the threshold to send the data "2" might be 480, but on the second attempt, it can suddenly increase to 510, causing it to never output the value "2". After much research, some say that it is due to the rapid electrosis of the sensor, while some say it is just a bad sensor. While I do not like to blame equipment, things were alot easier after I bought the Soil Moisture Sensor, which does the same job but way more reliable!
It was quite a technical build for the visual, which took me some time to understand how it works. After understanding, I struggled initially to create the visual I wanted because I could not achieve the cascading effect. It was after hours of exploration and trial that I managed to find out that it was the Turbulance parameter in ParticlesGPU that had that effect and also to change the visuals to what I wanted. But it was really fun though!
Andreas really liked the experiment! He said that the visuals were nice, but perhaps the material choice can use more work. He wanted me to establish a strong context for my interfaces, instead of jumping around different contexts. After some discussion, we both felt that grounding my interface experiments in the context of Cultural Practices could be a good step forward. He also wanted me to consider how to document my work to properly tell the story and the traditional process it entails.
Very happy! I really loved the visuals, and would look to change up the materials and making once the prototyping gets serious in semester 2. I liked the context that it was grounded in -- learning about chinese tea ceremony. The design interventions were cohesive with the actual practice of the First Infusion, which i thought was great. On a critical note, I have to start to consider the actual applications (Where is it displayed? Who is the audience?) to really establish a stronger foundation for my design experience.
1. Ground my experiments in the concept of cultural practices
2. Plan out my documentation of the experiment
3. Look to build refined prototypes soon