READING AND READING
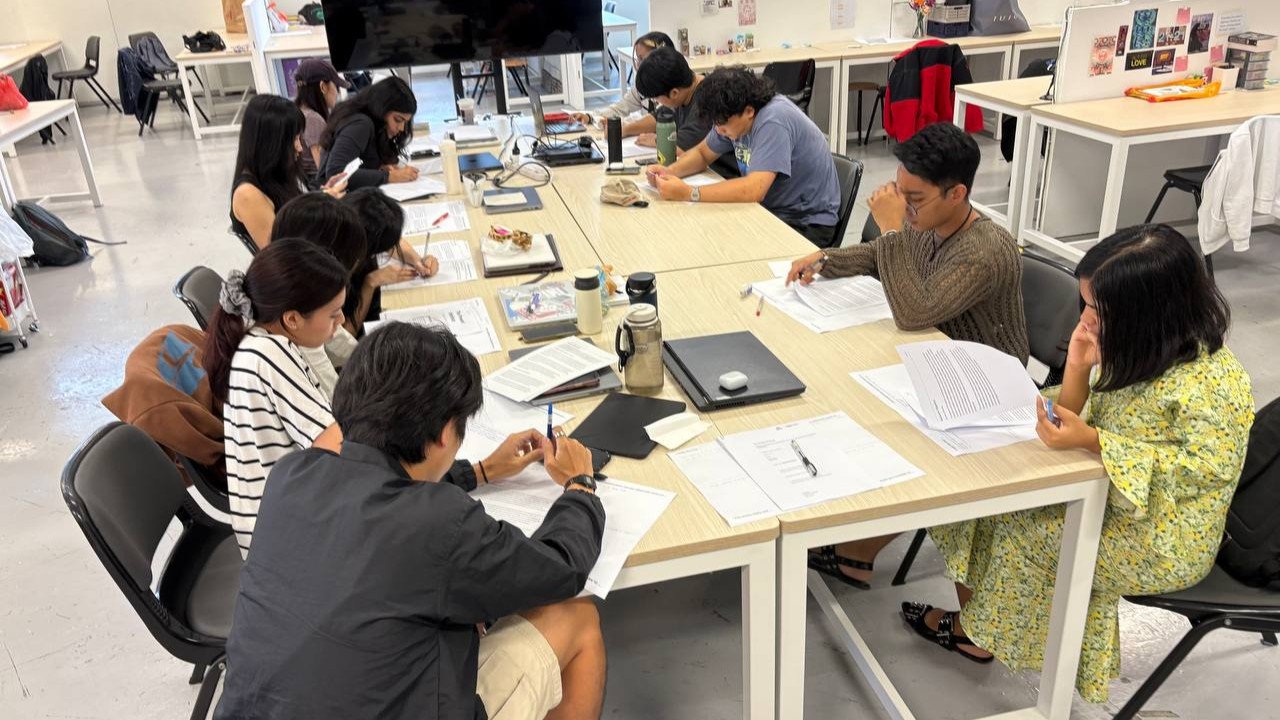
RPOs all over the table as we all focused on reading
RPO Peer Review
This week, we had a RPO peer review session where we read each other's RPO and wrote down some constructive feedbacks. It was insightful looking into the progress of others and their approach towards their writing. I have also gotten some valueble feedback from my peers on some of the shortcomings and positives for my current RPO draft.
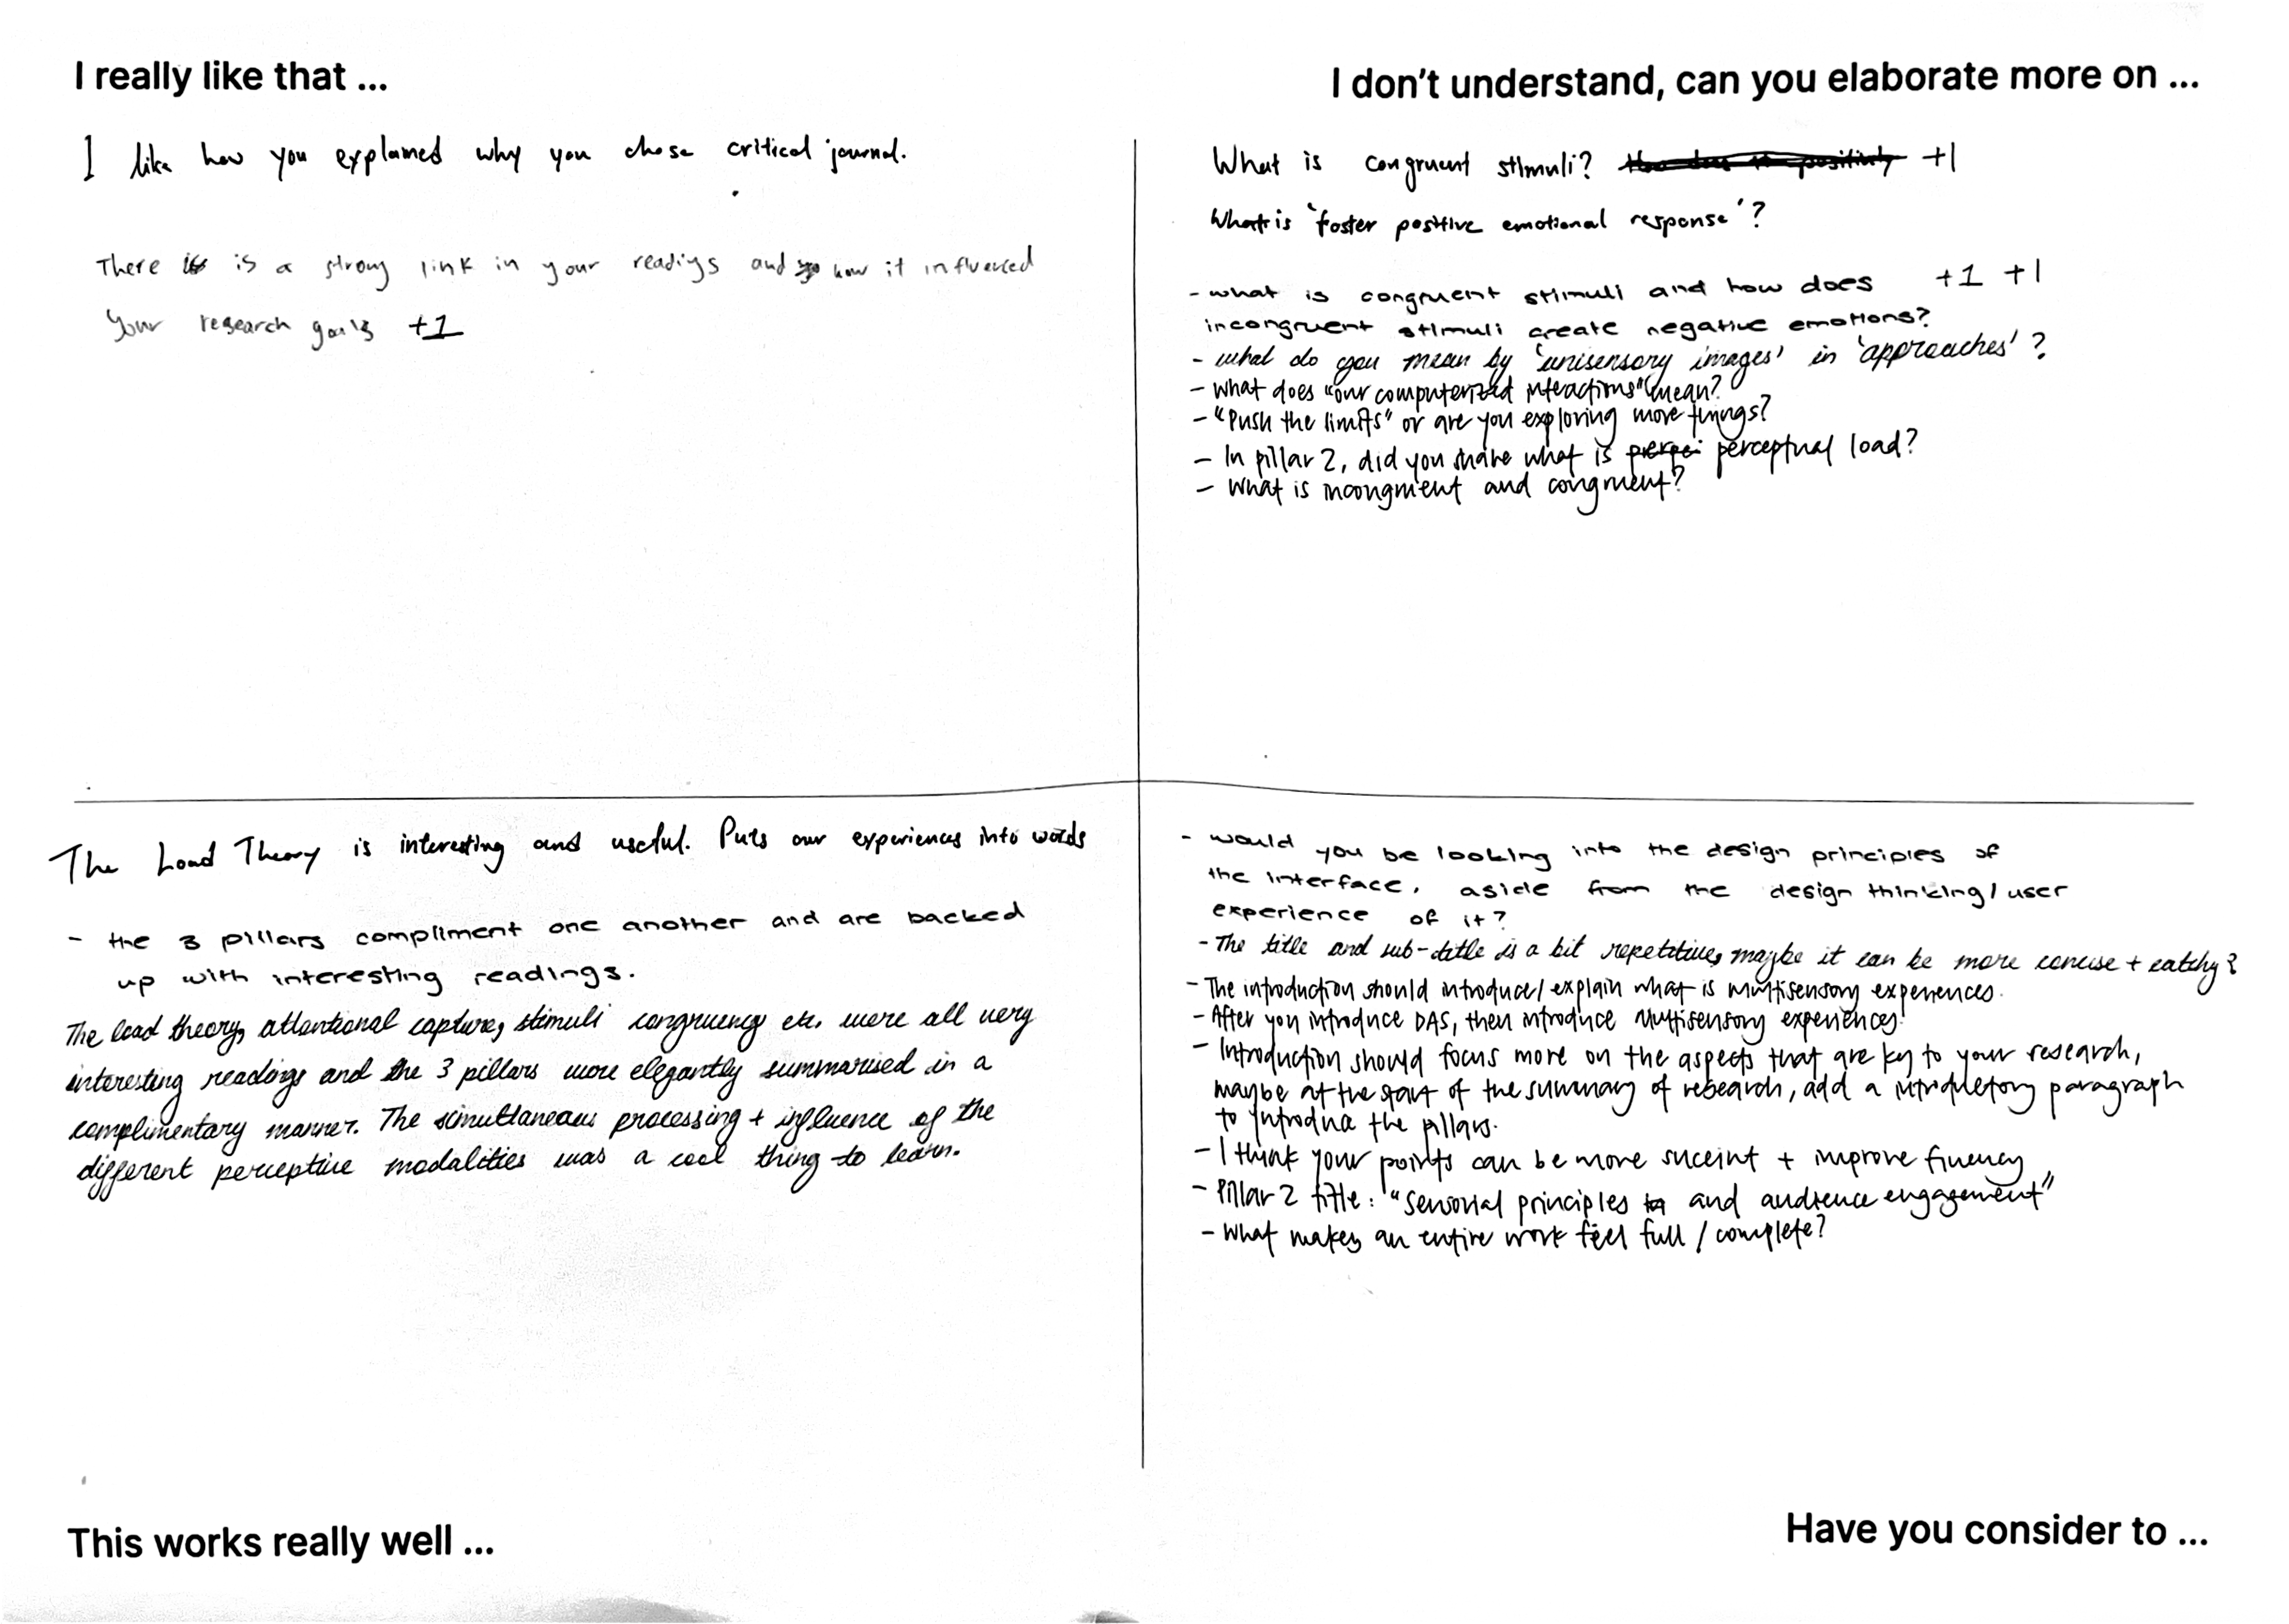
Feedback notes written by my peers
My peers enjoyed the way I flowed the 3 pillars together in the summary of readings. The summary was divided into the 3 pillars: Multisensory Interface Design, Audience Engagement and Meaning Making. This approach mimics the user’s experience journey, where we first look into the design of MIs, to their engagement with users and ending with how they interpret their experiences so as to cover a holistic research approach.
In my writing, I dived into Sensorial Principles and Cognitive Frameworks that helps participants understand and stay attentive within their interaction with Multisensory Interfaces. Many of my peers mentioned that they found it interesting and useful how I used these frameworks and principles to guide my design approach of Multisensory Interfaces.
Terms such as "Congruency of Stimuli" and exactly how it impacts human emotions was not clearly defined. Thus when some of my peers read my RPO, they were lost at certain paragraphs/concepts.
My introduction did not talk about my research, instead it was writing solely based on my summary of readings. My writing could also flow better and points can be more succint.
From this feedback session, I have noted that I needed to revise on the proper way to write my introduction and also to give more clear examples and definition with regards to key terms and concepts. I might think that its "easy to understand", but it's largely because I have been reading these concepts in various literature. On a positive note, I do feel happy that the flow of writing for summary of readings was enjoyable to read and made sense.
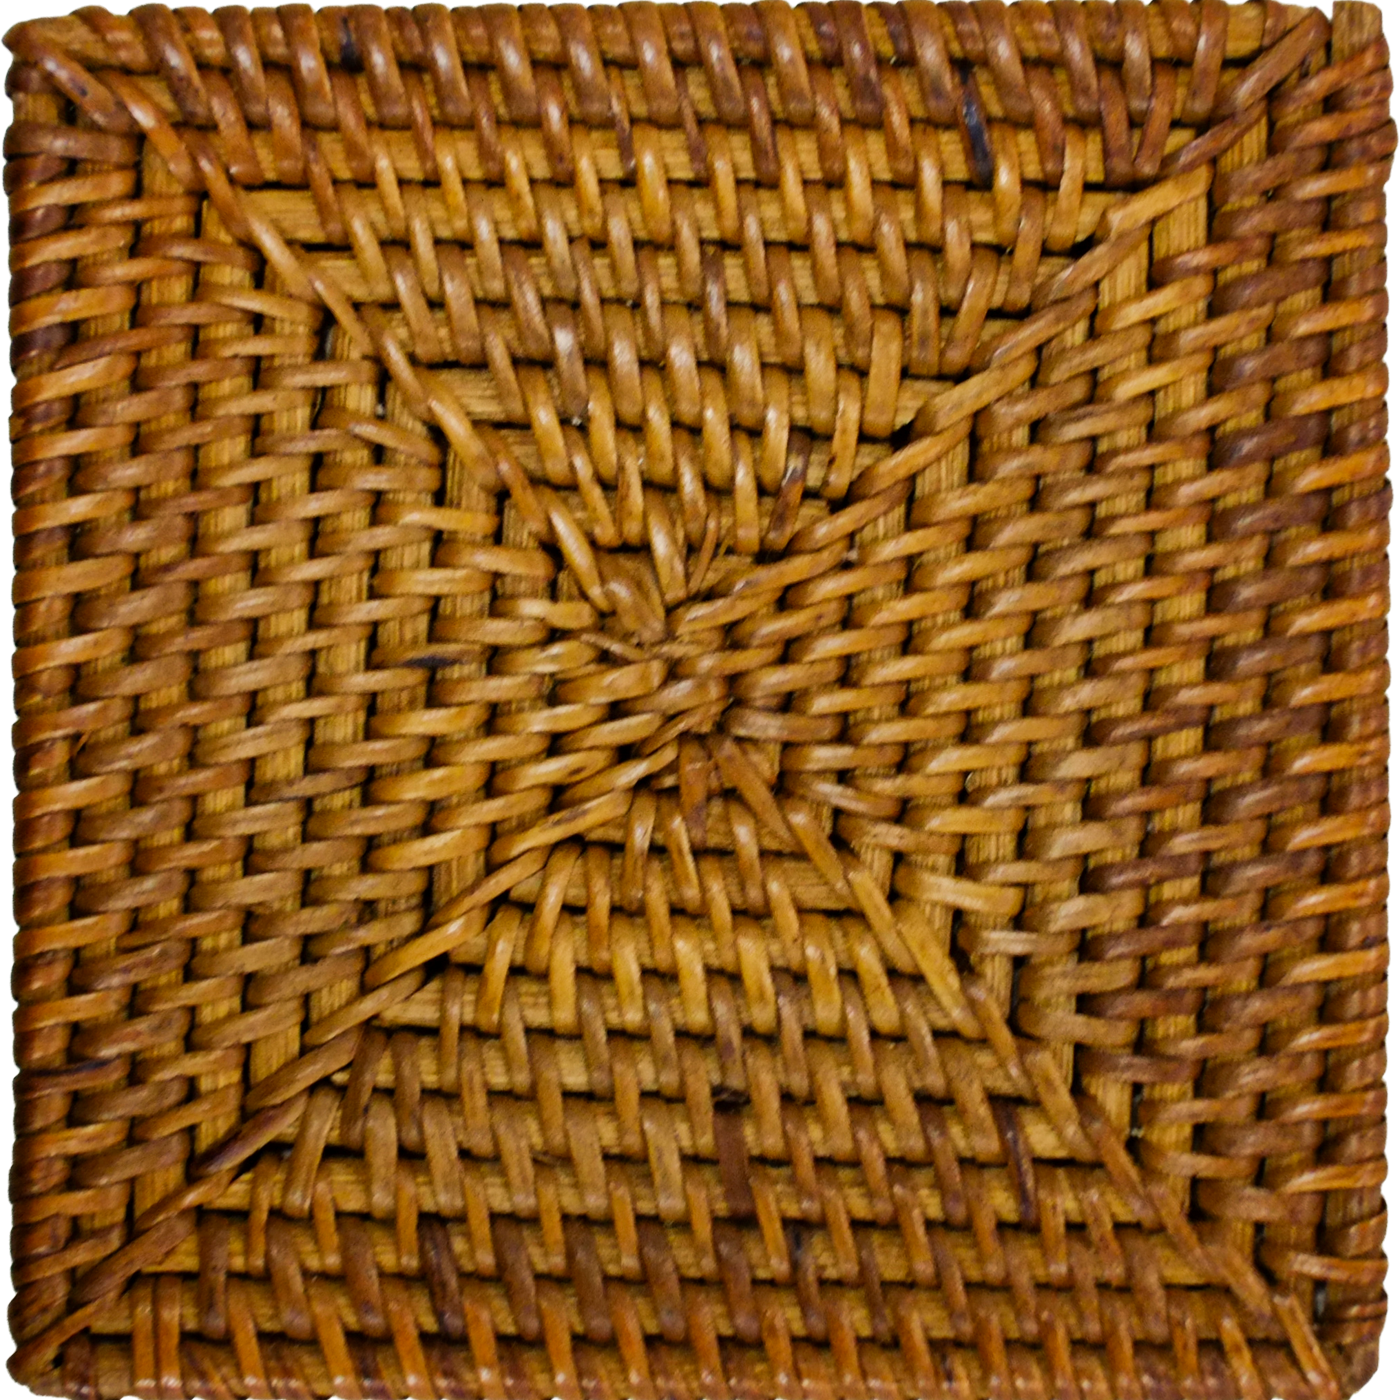
While the past two experiments focused on using photographs as an application, this experiment focuses on the materials itself instead. The goal is to augment the experience of interacting with physical materials (of rattan and cork) with TouchDesigner visuals and sound effects. The idea of this experiment was inspired by Andreas' comment to highlight more of the textures of the materials used and do something less literal and explorative. I also did a bonus add-on, where I used NFC technology to trigger the switch between the material visuals.
A touch-visual-audio interface. Participants interact with the square piece of material (cork and rattan) and observe visual changes that happens on a TouchDesigner visual, exactly at the corresponding spot that they are touching the cork/rattan at. The TD visuals are a intepretation of the materiality of cork/rattan. Sound effects are triggered as users touch the material. Visuals can be switched just by changing out the materials (using NFC tech).
An free and explorative experience that allows participants to interact with materials in a unique way and establish a deeper understanding about them.
Experiment 3 - Interactive Materiality
Tutorial by Crystal Jow on Interactive Grid Visual
To start off the process, I looked for some interesting TouchDesigner tutorials to learn some visuals that I possibly can apply to my experiments. I came across this visual created by Crystal Jow from Interactive HQ, that seeks to recreate this grid visual that can be interacted with mouse movements. Right off the bat, I knew that this visual will work well for my experiment because of the interactive aspect and how the grid resembles the form of my materials. To make sure that I internalize what I learnt, I took down some notes.
Some notes for myself to refer to internalize the tutorial better.

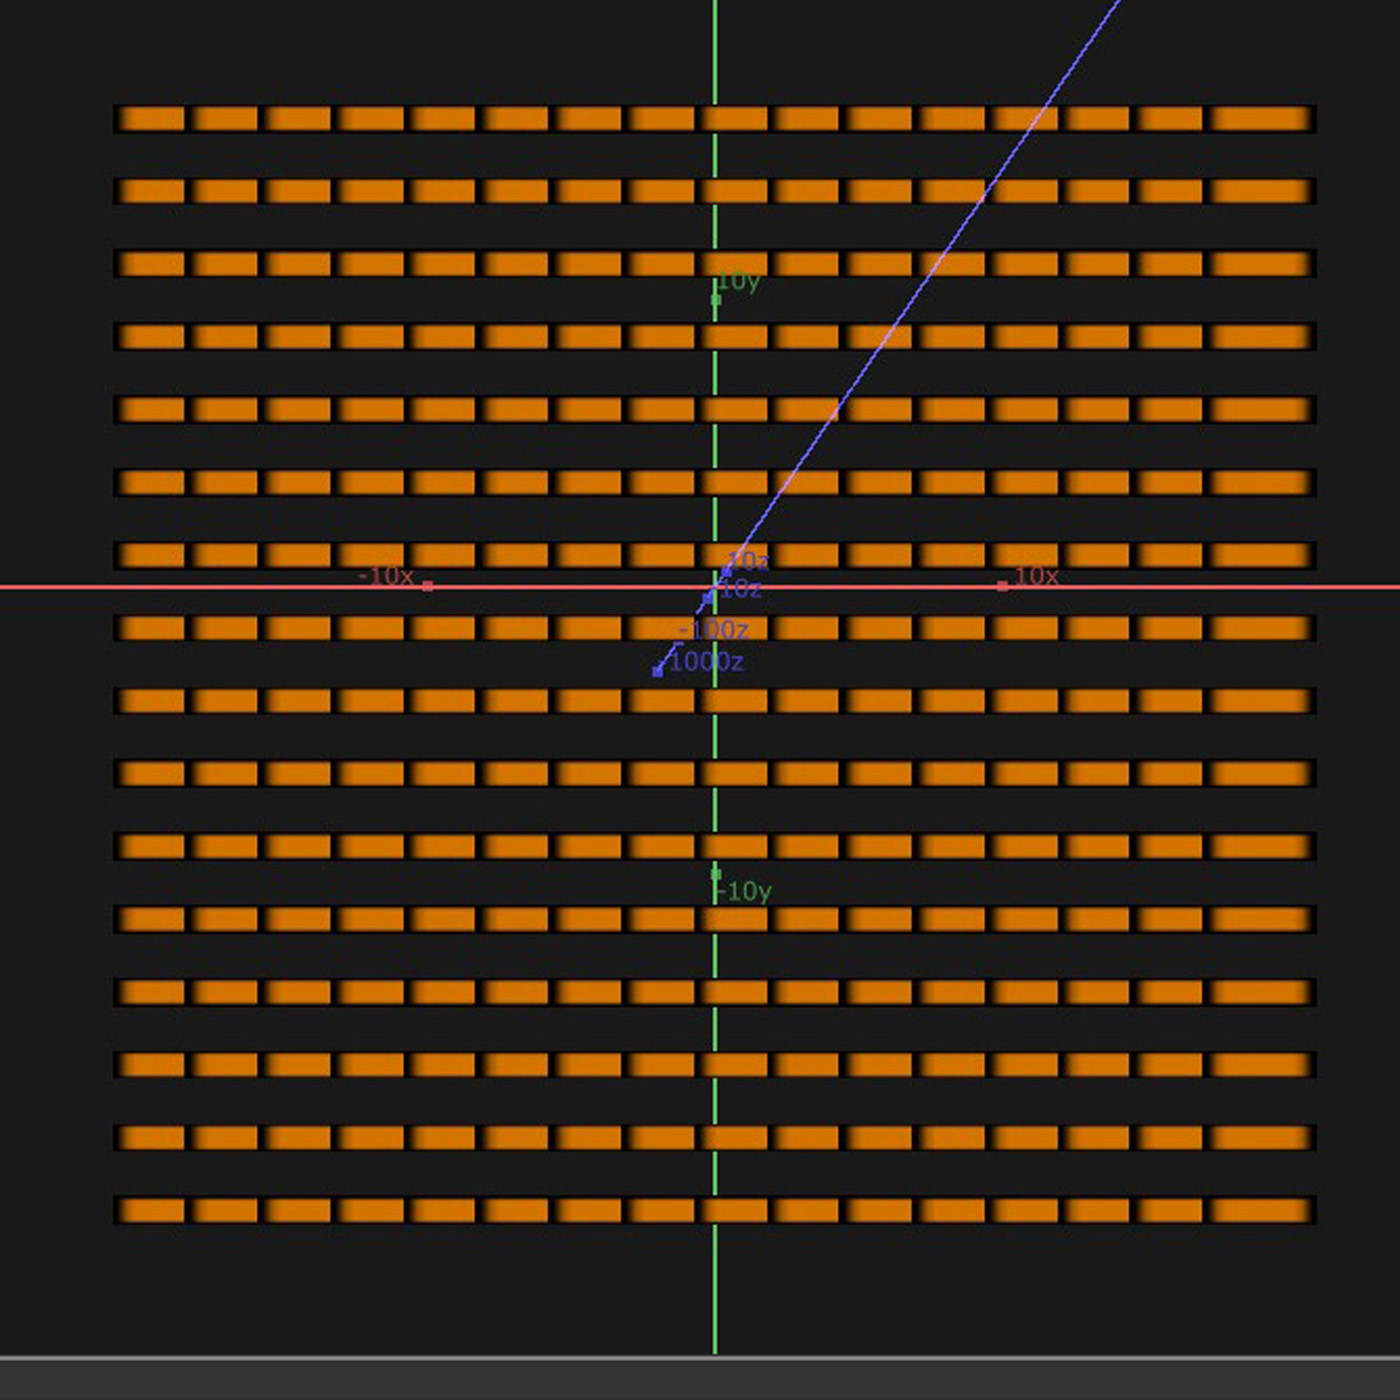
The horizontal bars
-
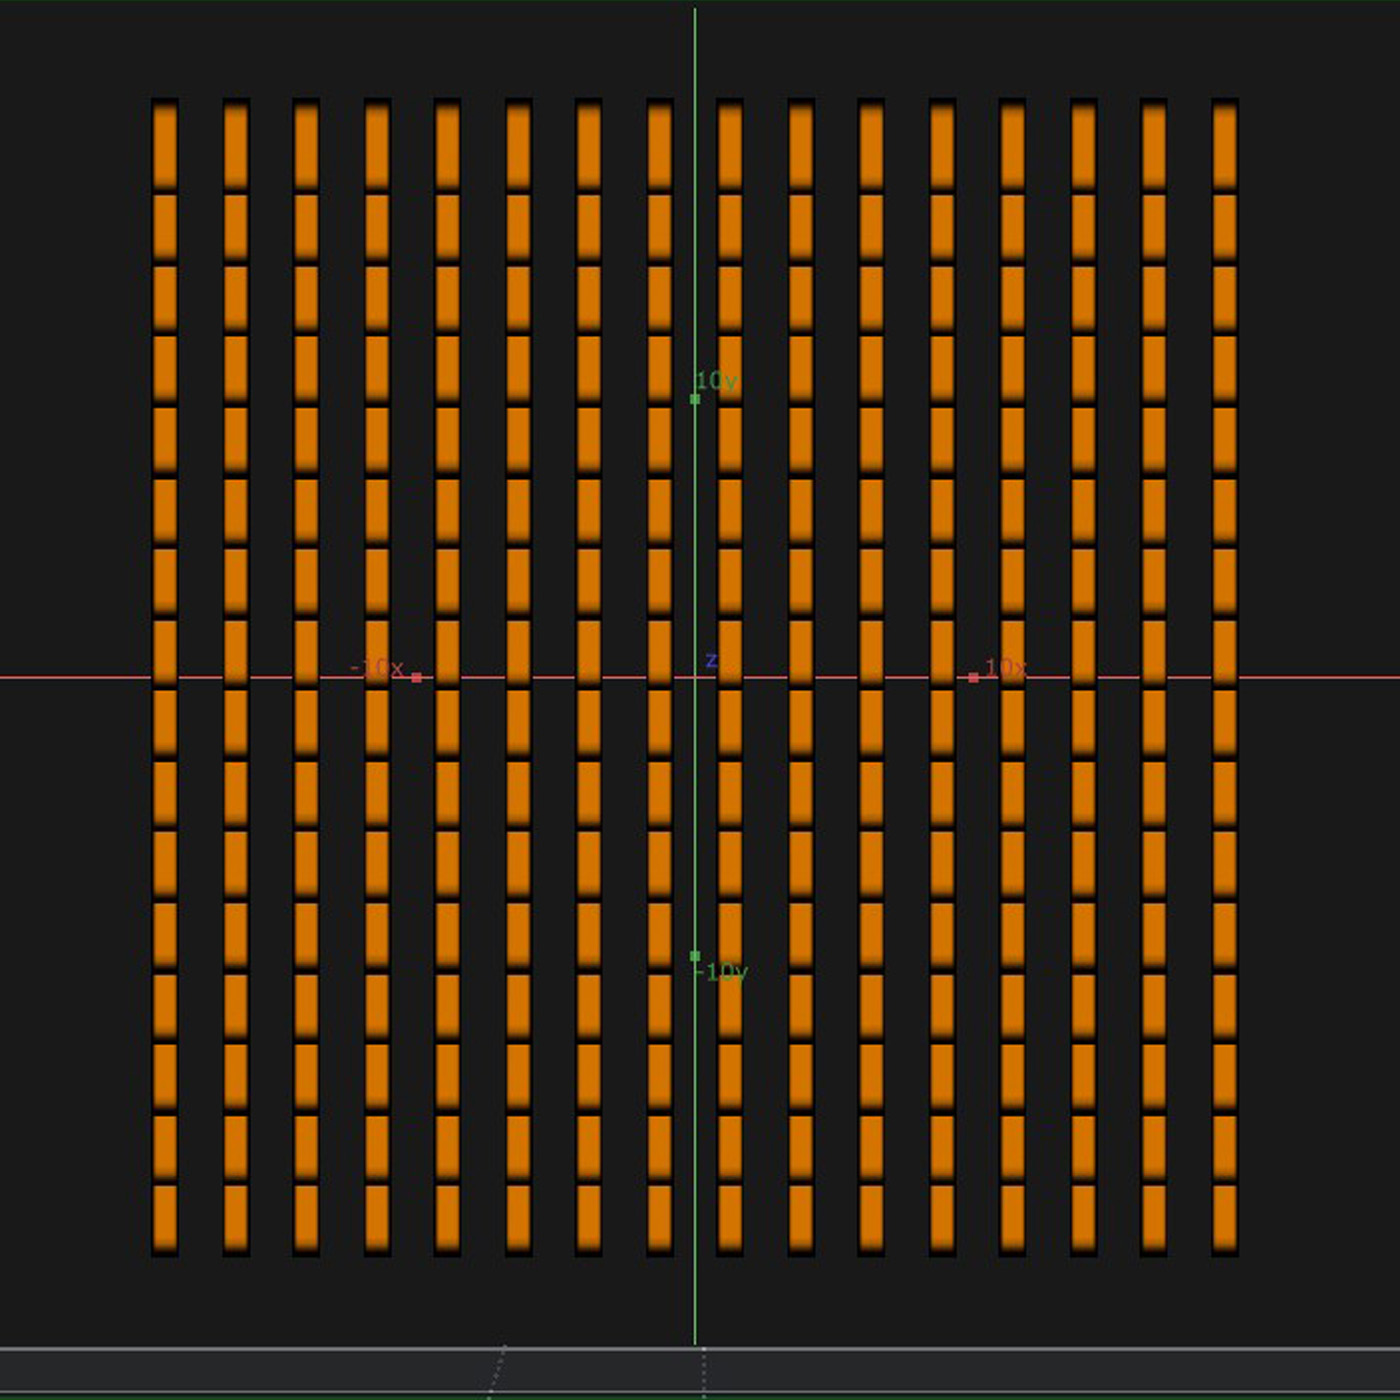
Rendered another set of vertical bars
-
Overlayed horizontal bars on top of vertical bars, with black outline mimicking drop shadow
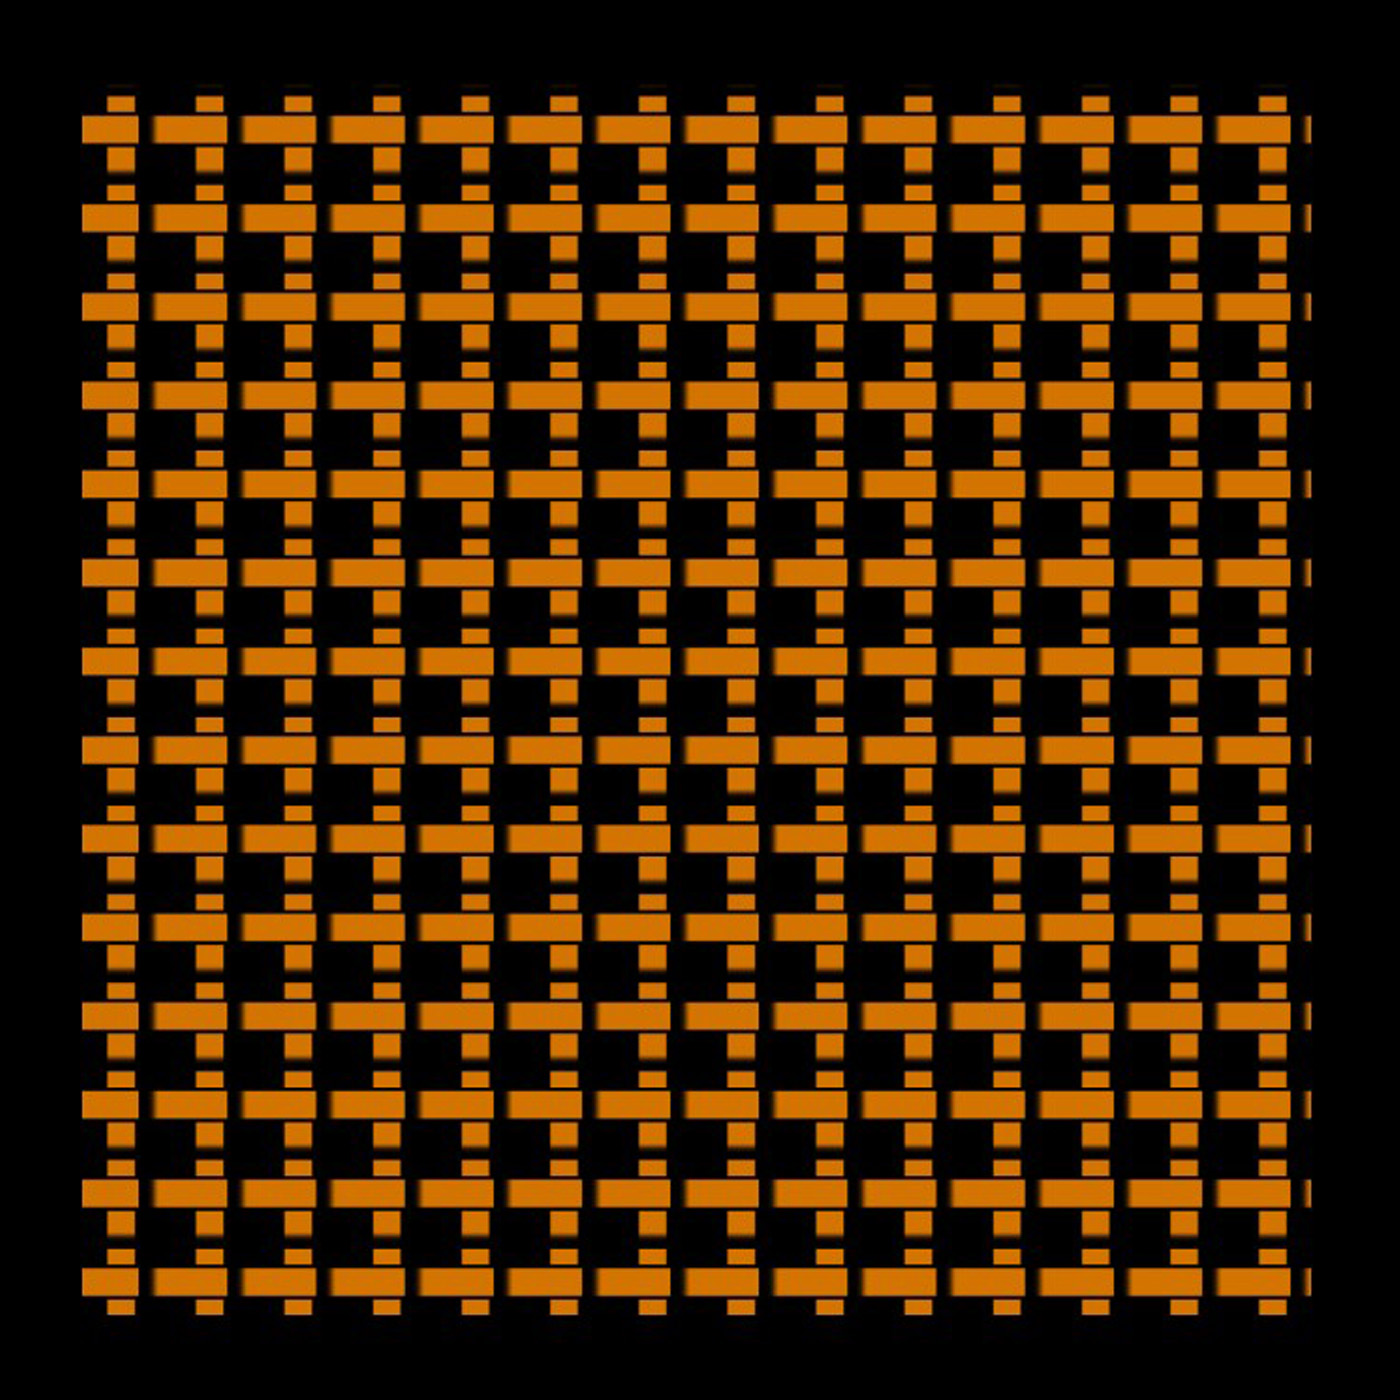
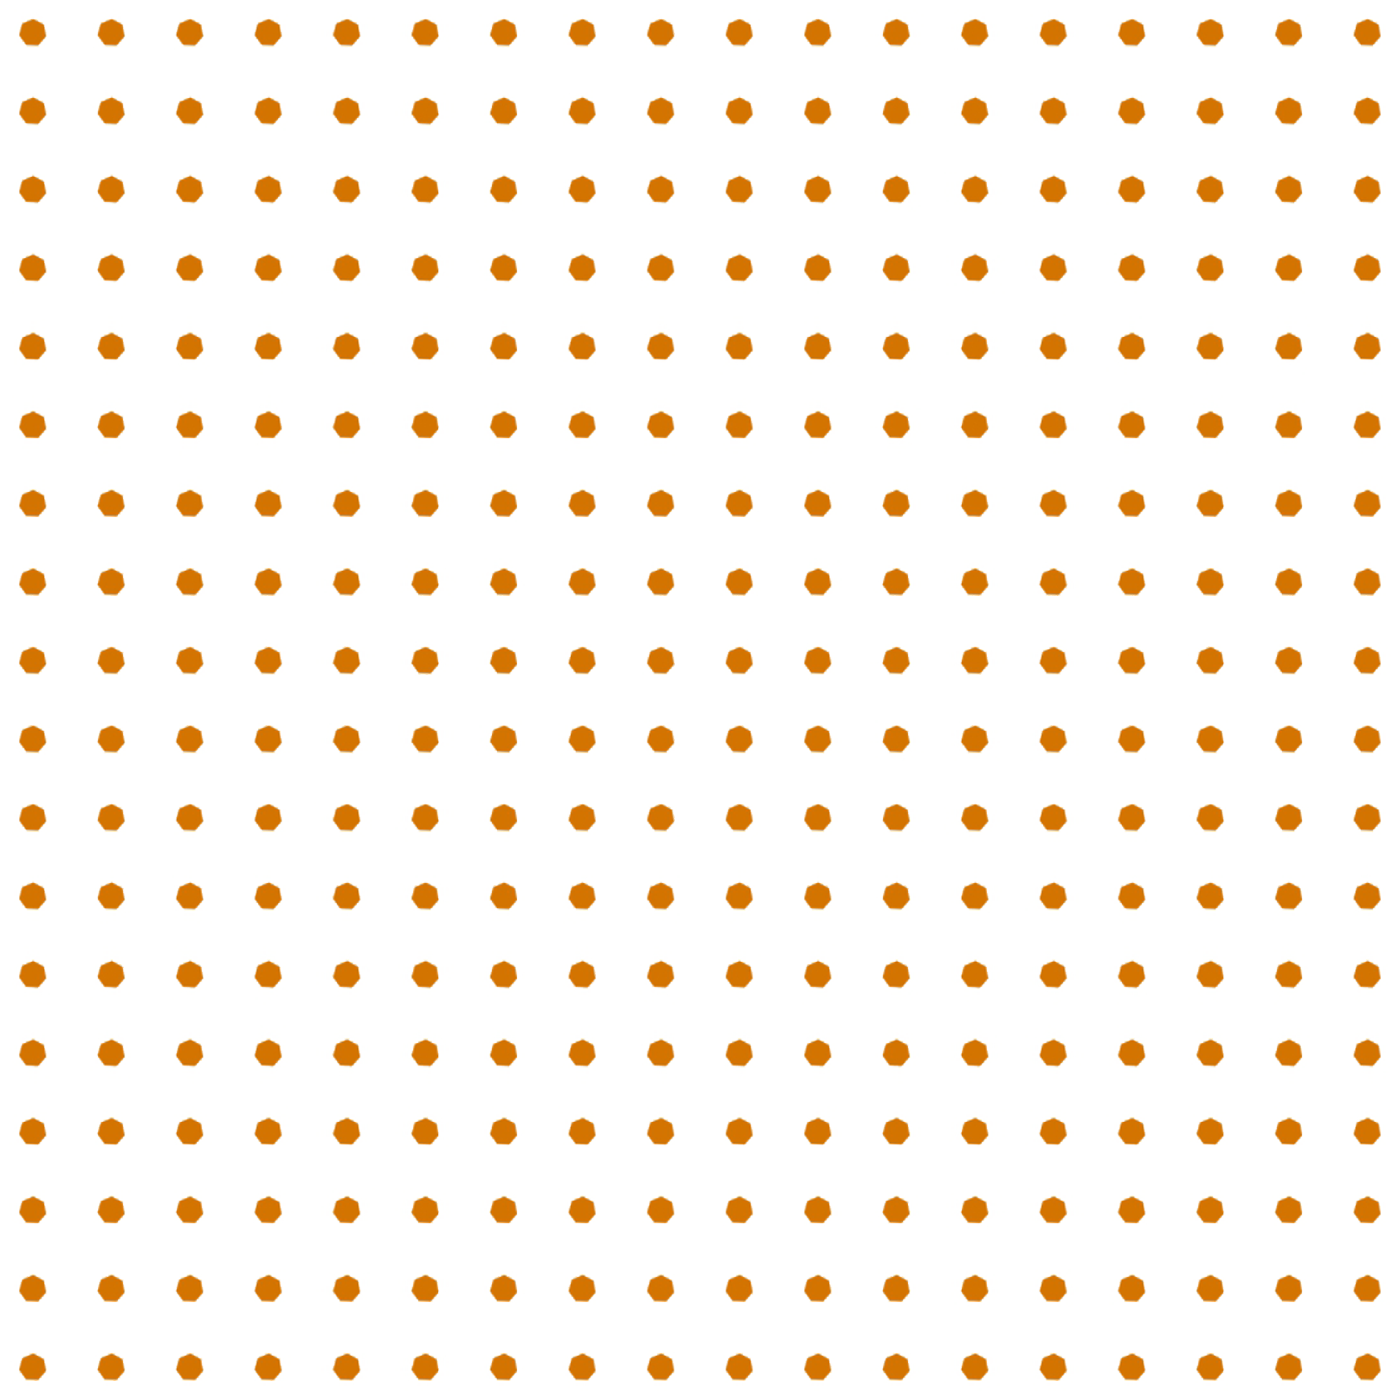
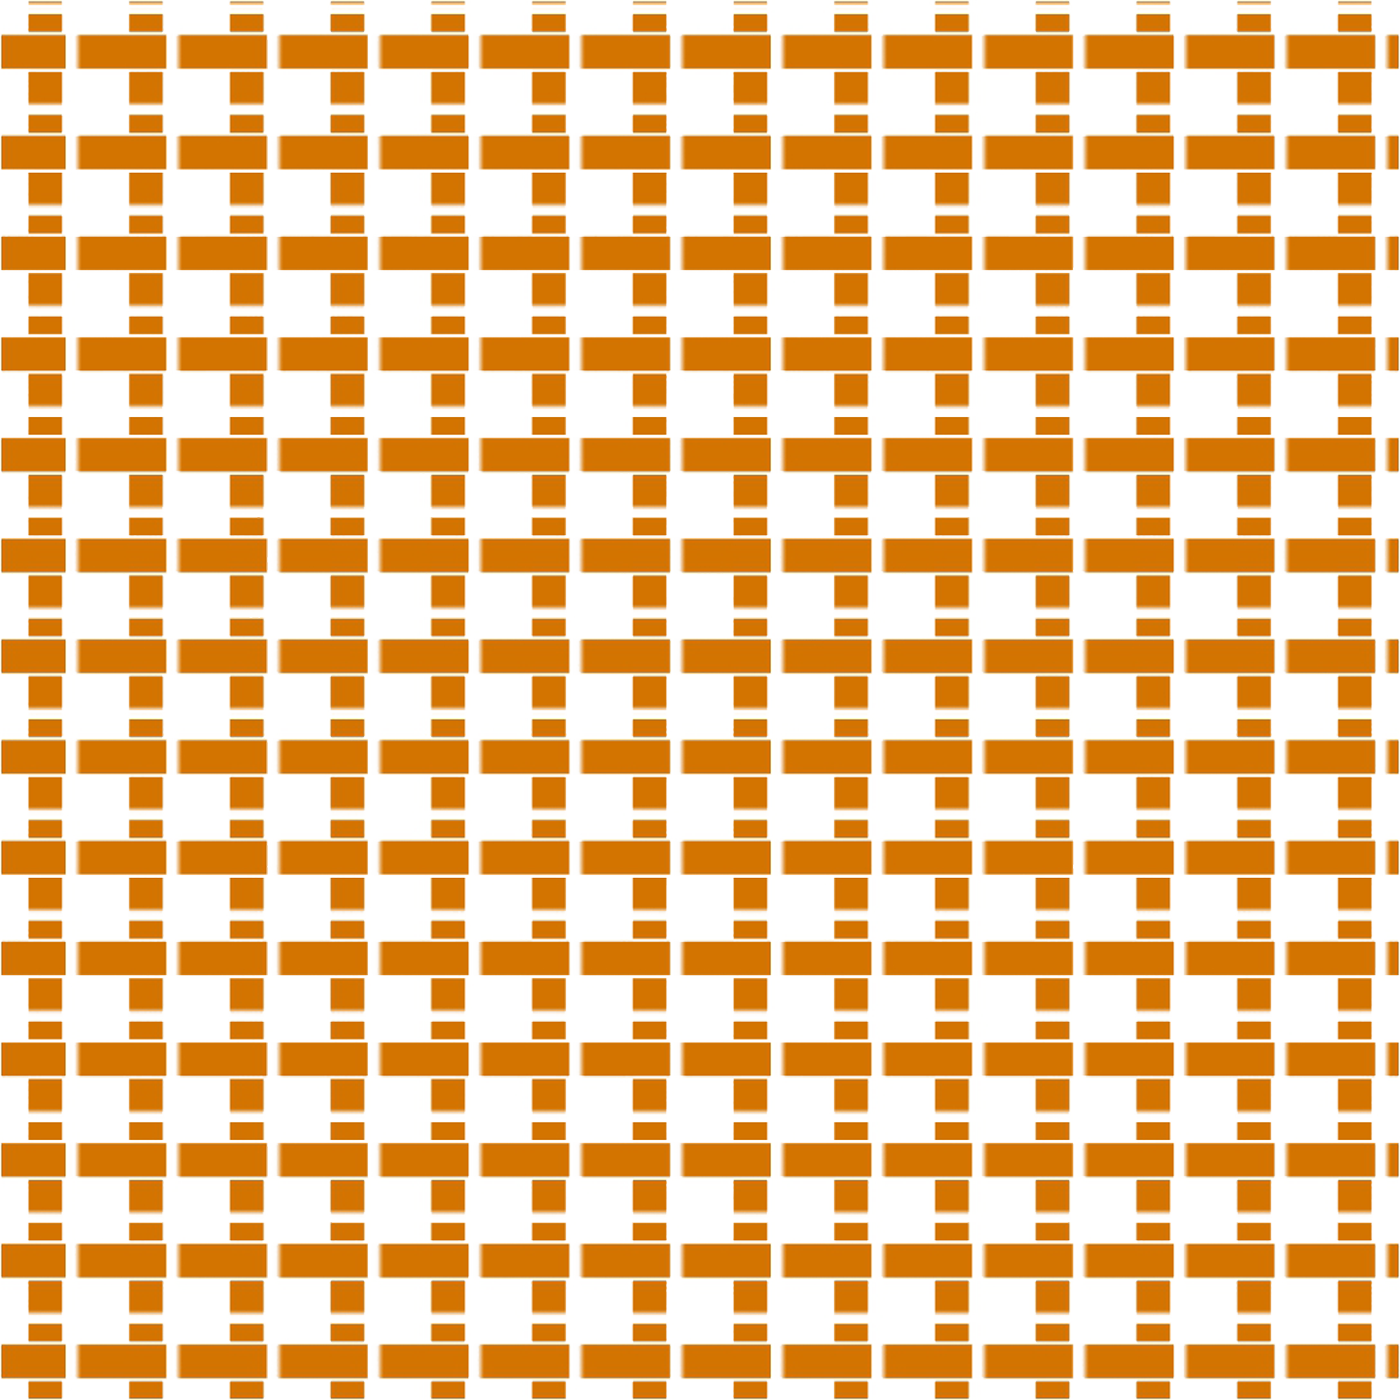
After learning and creating from the tutorial, I adjusted the grid to look more like the materials of Cork and Rattan. For the Rattan texture, I wanted to express the interwovern nature and the individual rattan strains. To do this, I changed the base shape to be a long rectangle and adjusted the distance between each repetition to be smaller, so that it all appears connected (like a strain of rattan.) This resulted in 20 rows of horizontal bars, which i duplicated and rotated to be vertical, so now it becomes overlayed on top of each other. Now it looks more like the rattan texture. I also added abit of black outline (mimic drop shadow), so it looks like the top layer is overlaying on top of the bottom layer, giving more of the interwovern feeling. For Cork, I created the base shape to look like a octogon because I wanted the edges to be a little sharp, much like its coarse texture.
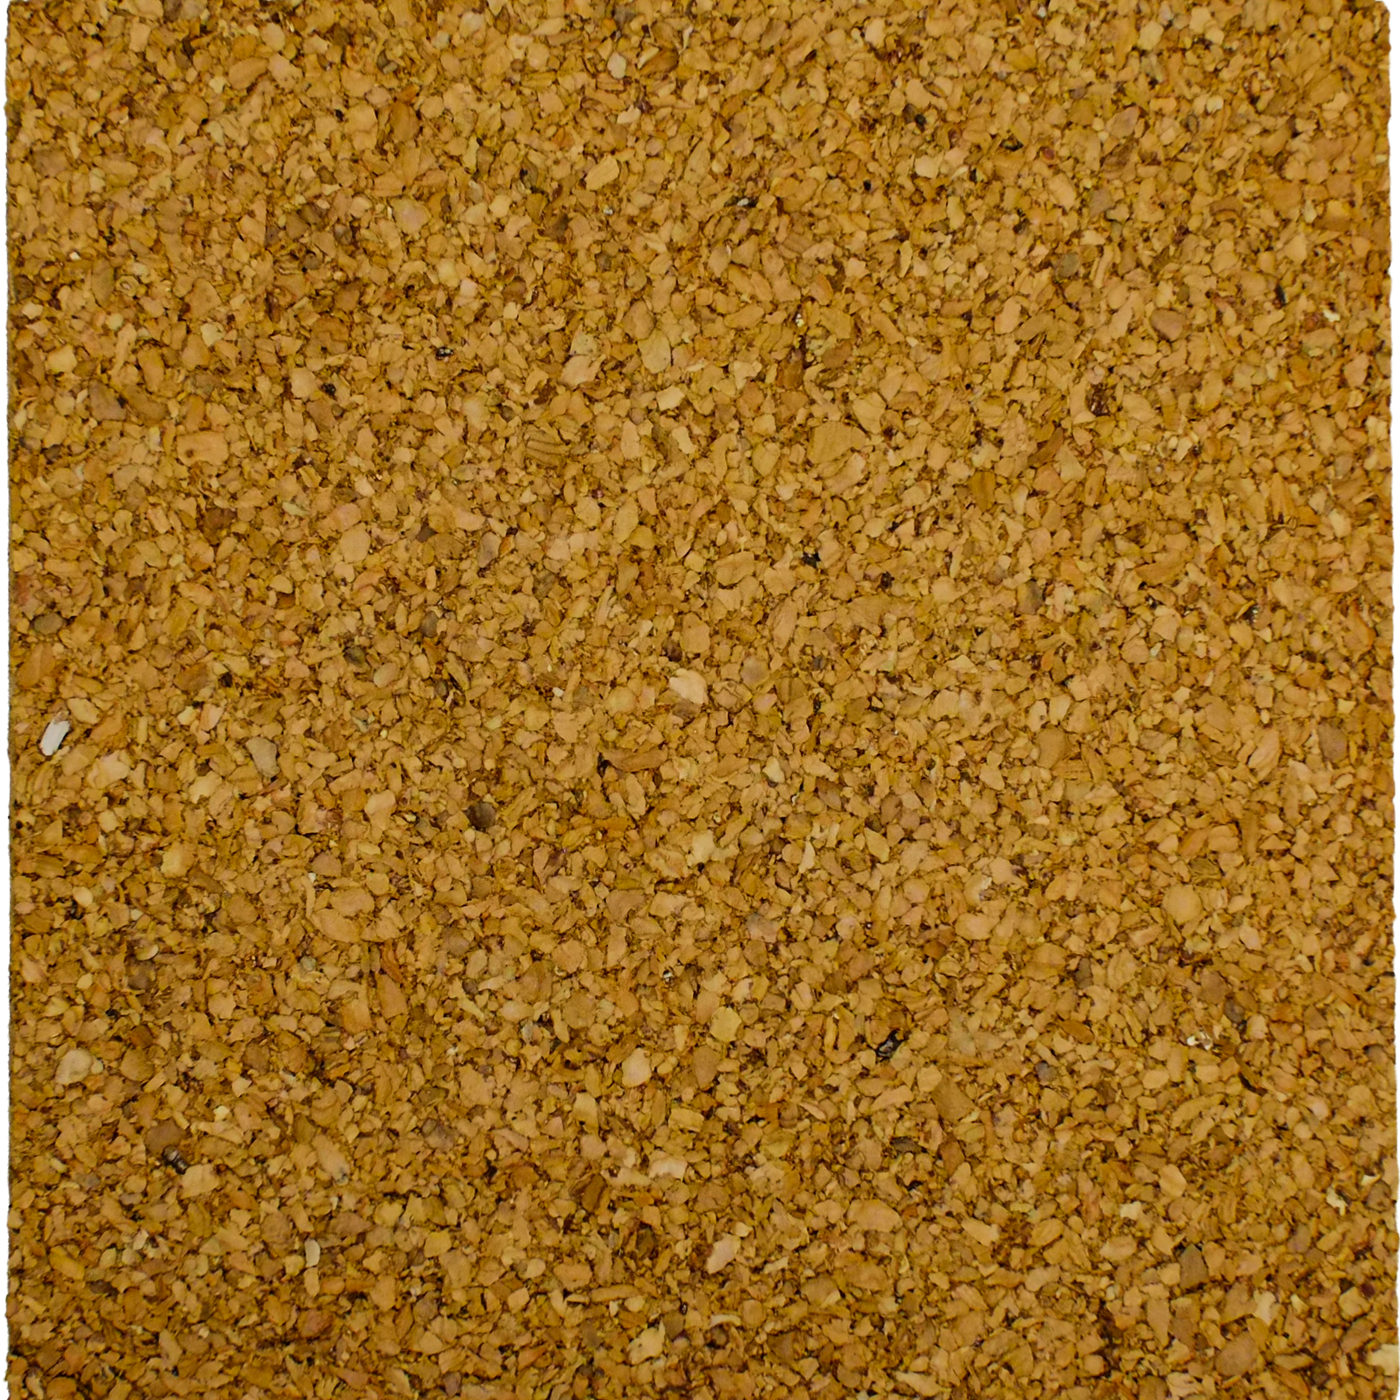
Original materials and the TD Counterpart
-
-
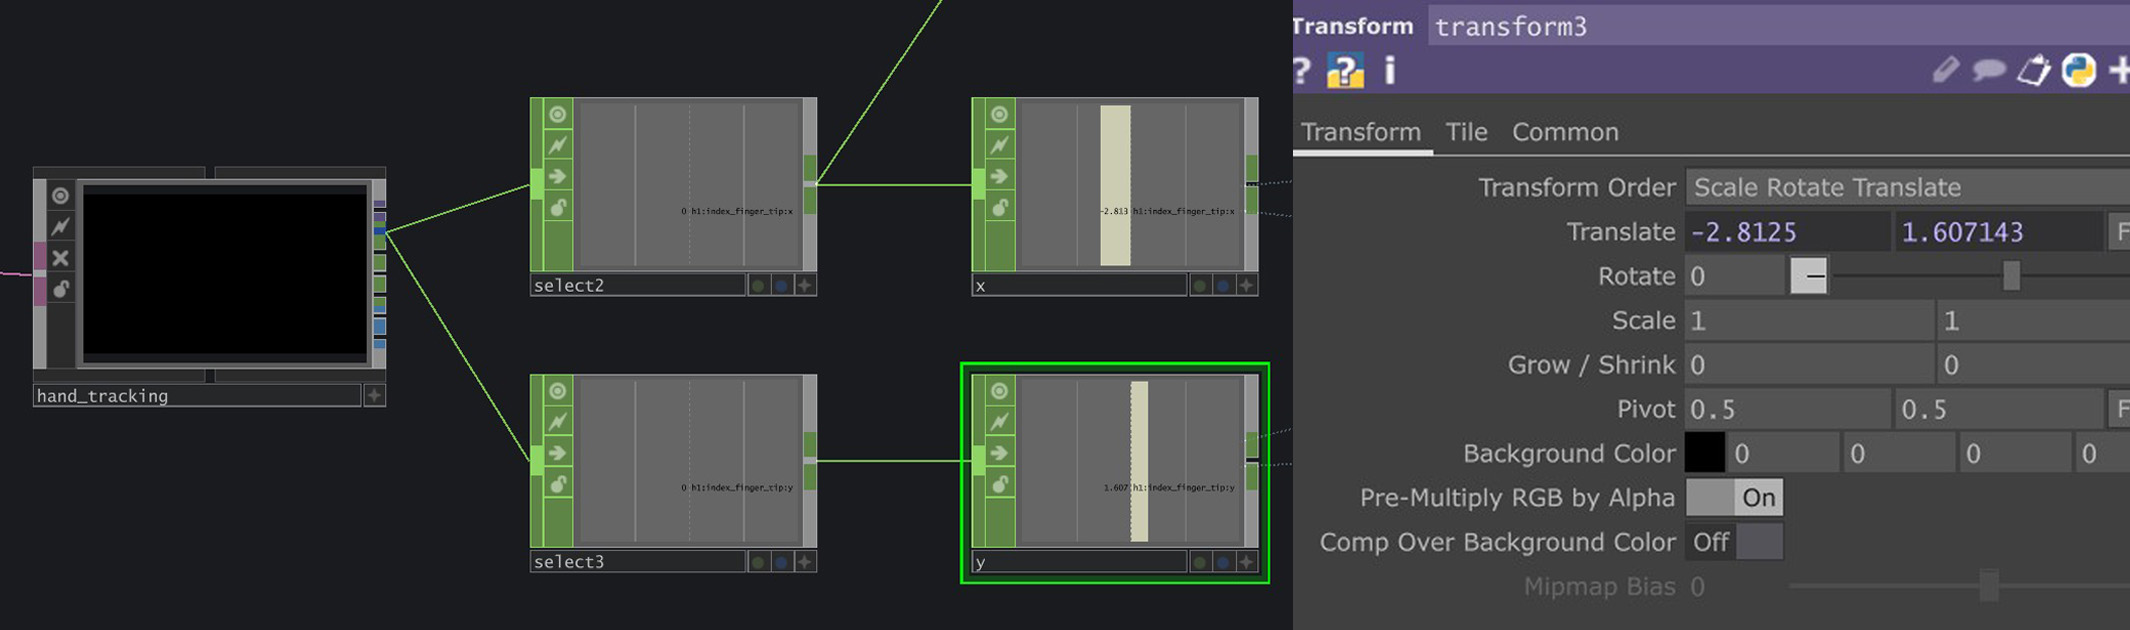
Using MediaPipe to extract index finger XY data, applying it to Transform parameter to control point of interaction
In the original tutorial, the interaction was using mouse movements by using a Panel CHOP to record mouse XY data and then using it to control the position of the interaction. I replaced mouse XY data with the XY data of my index finger tip instead using MediaPipe. I had to use a Math CHOP to constrain the limits within the size of the physical material. The outcome was surprisely accurate (as seen from experiment video above).
-
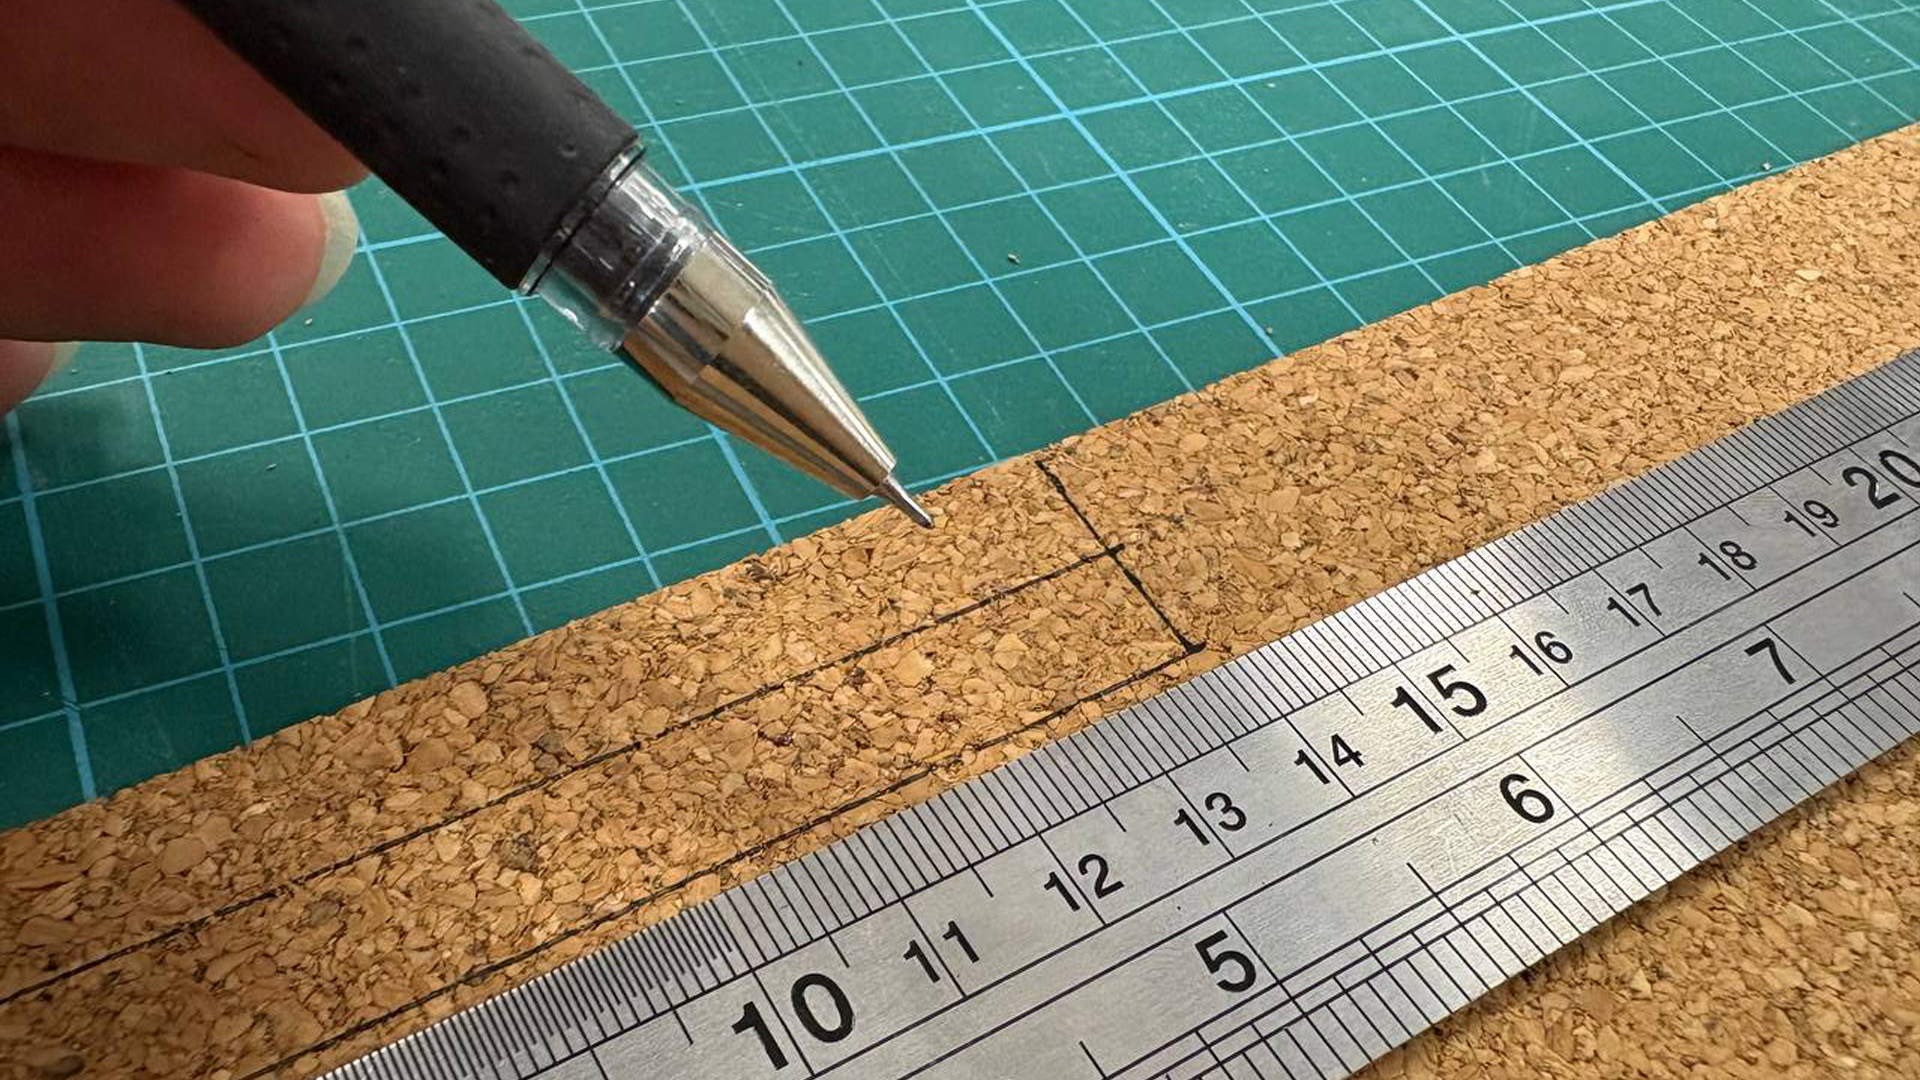
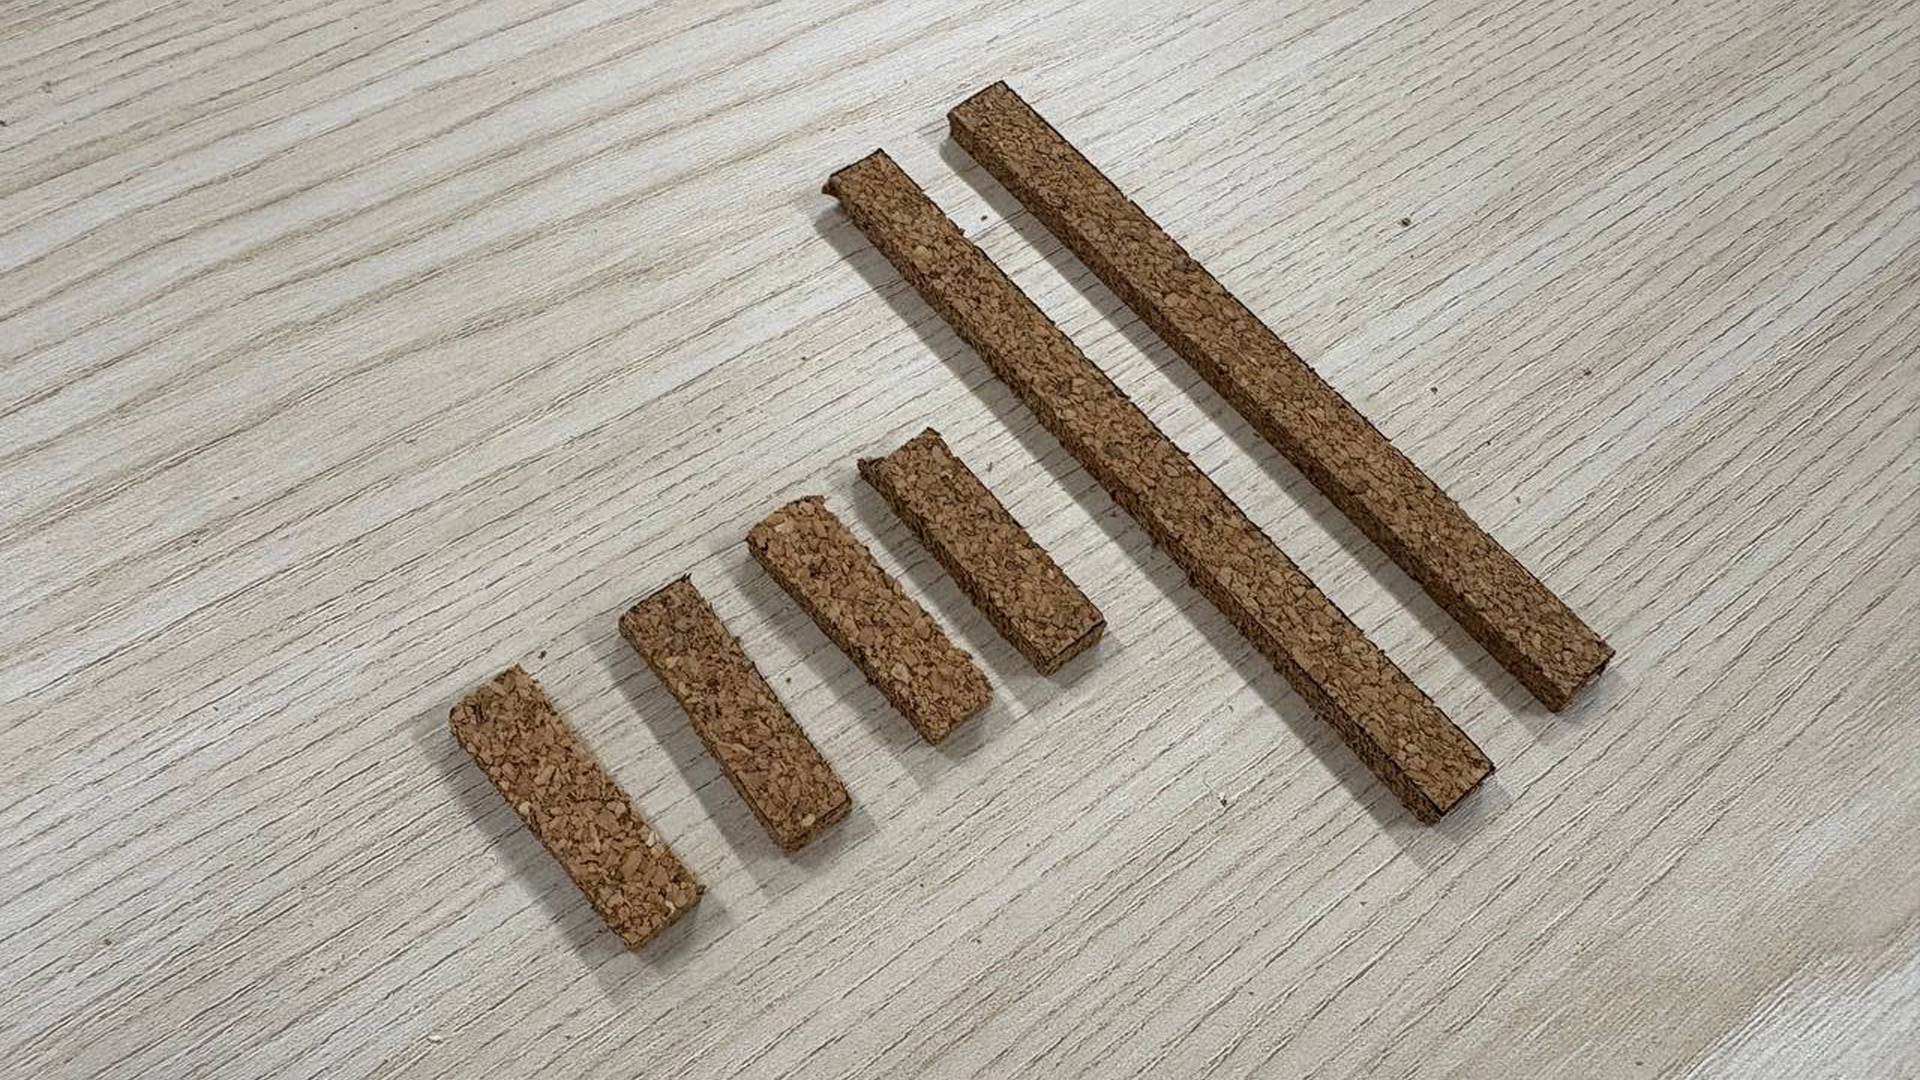
Measuring and cutting pieces
-
Cutting/measuring base piece with holes for NFC
-
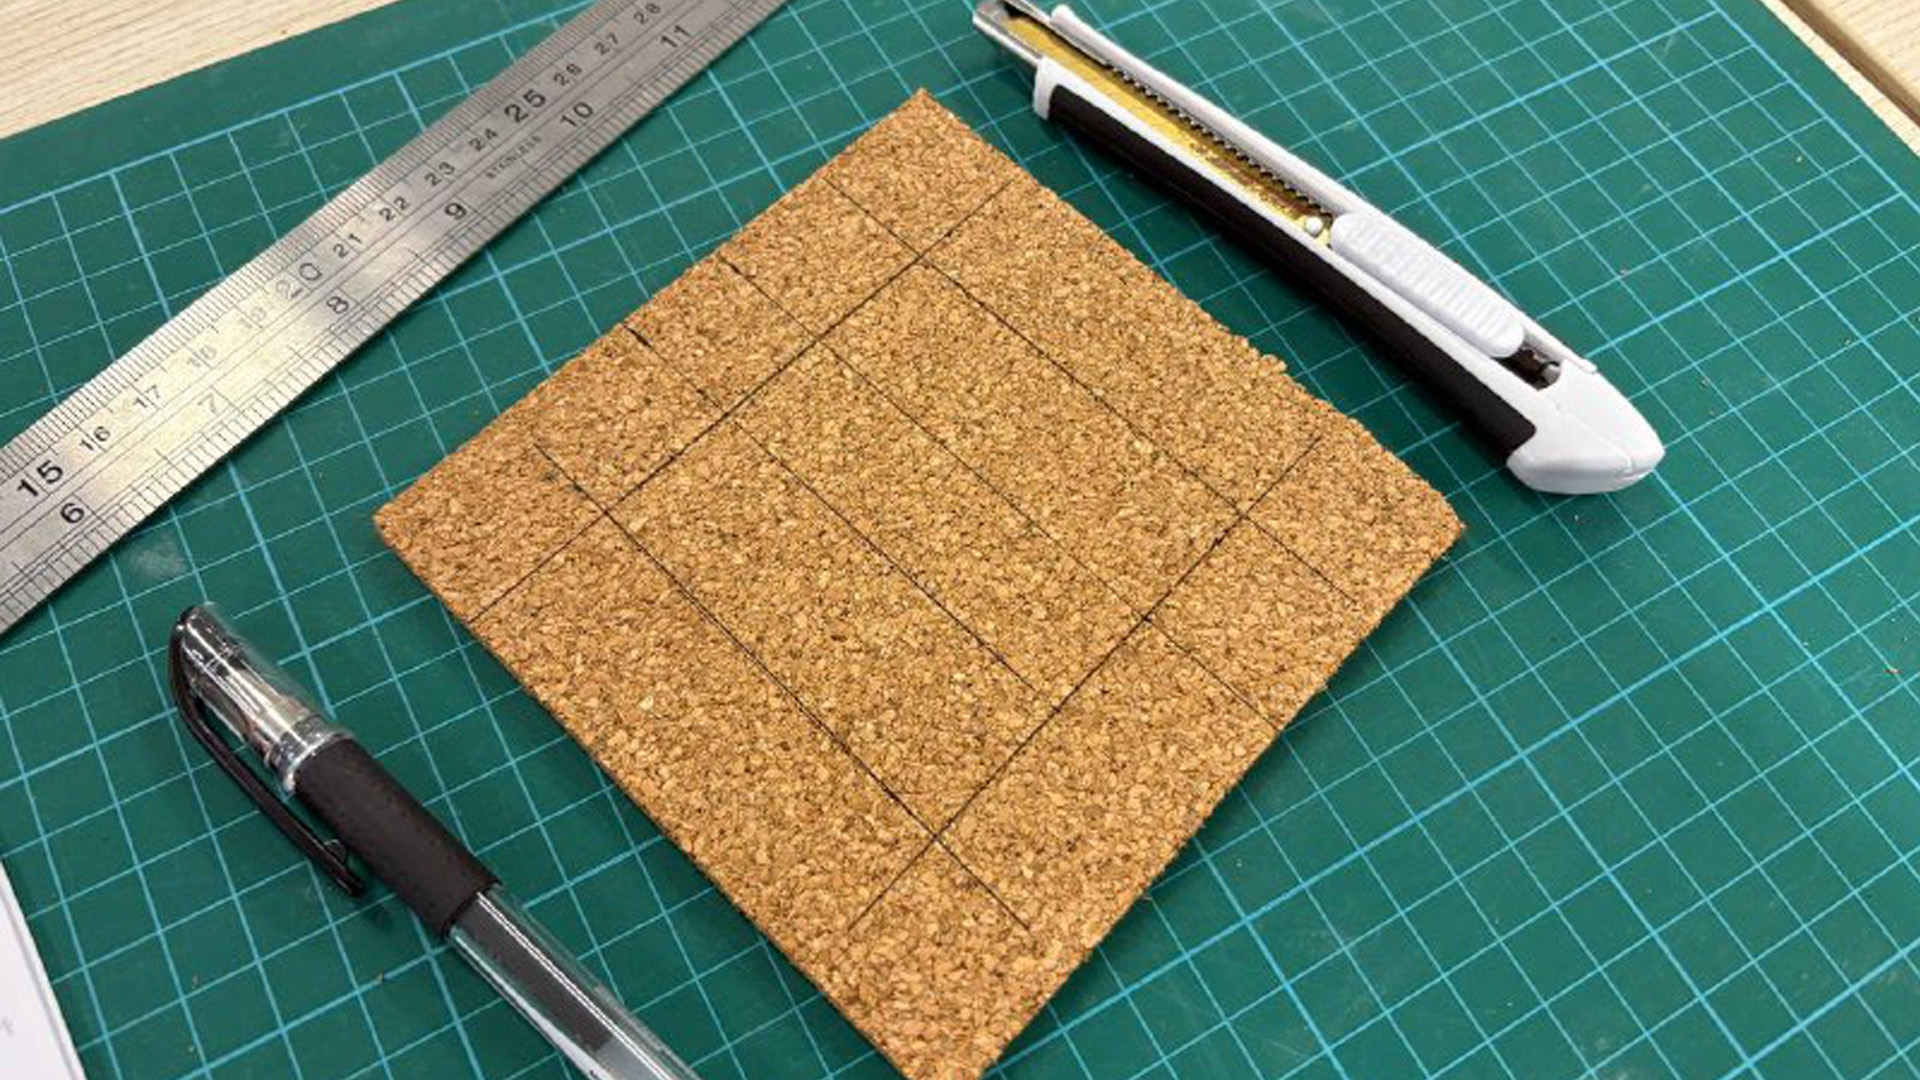
Cut out the pieces to be placed on top of base piece
-
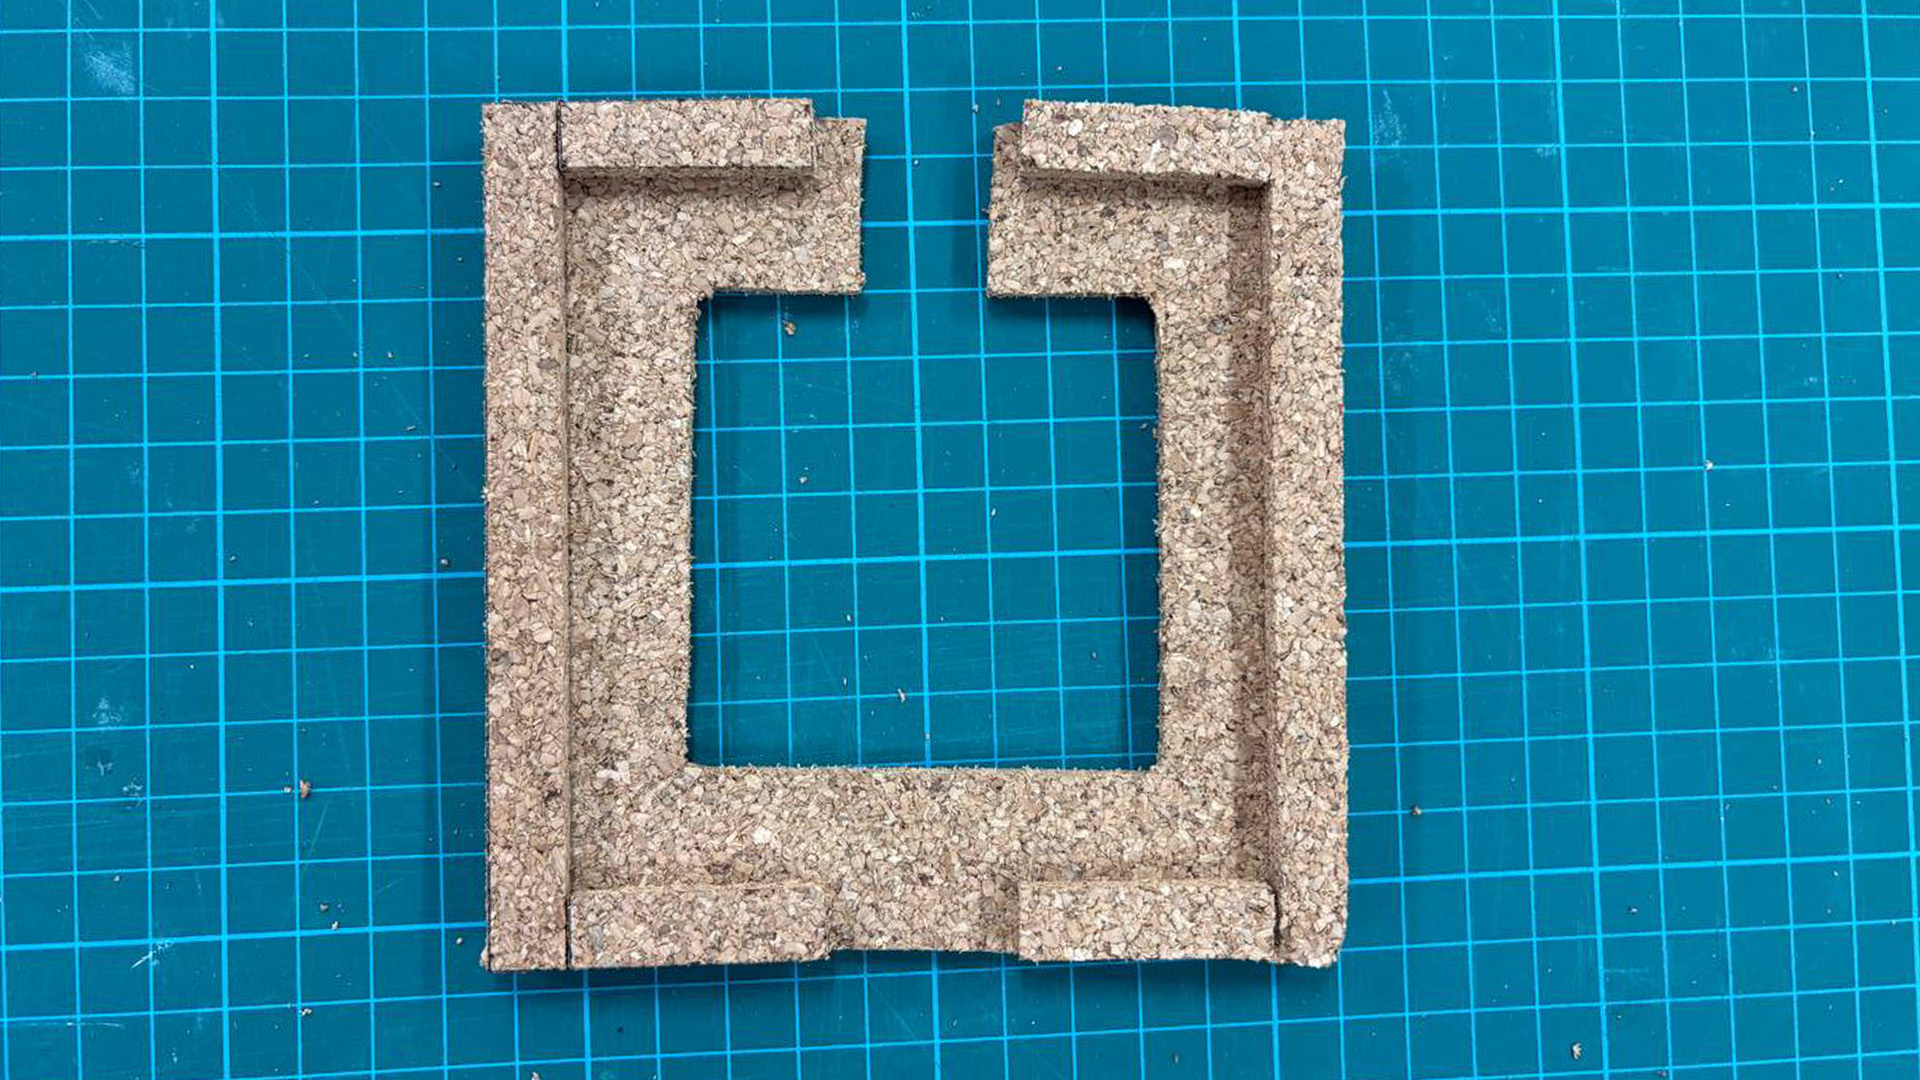
Final Texture Holder
-
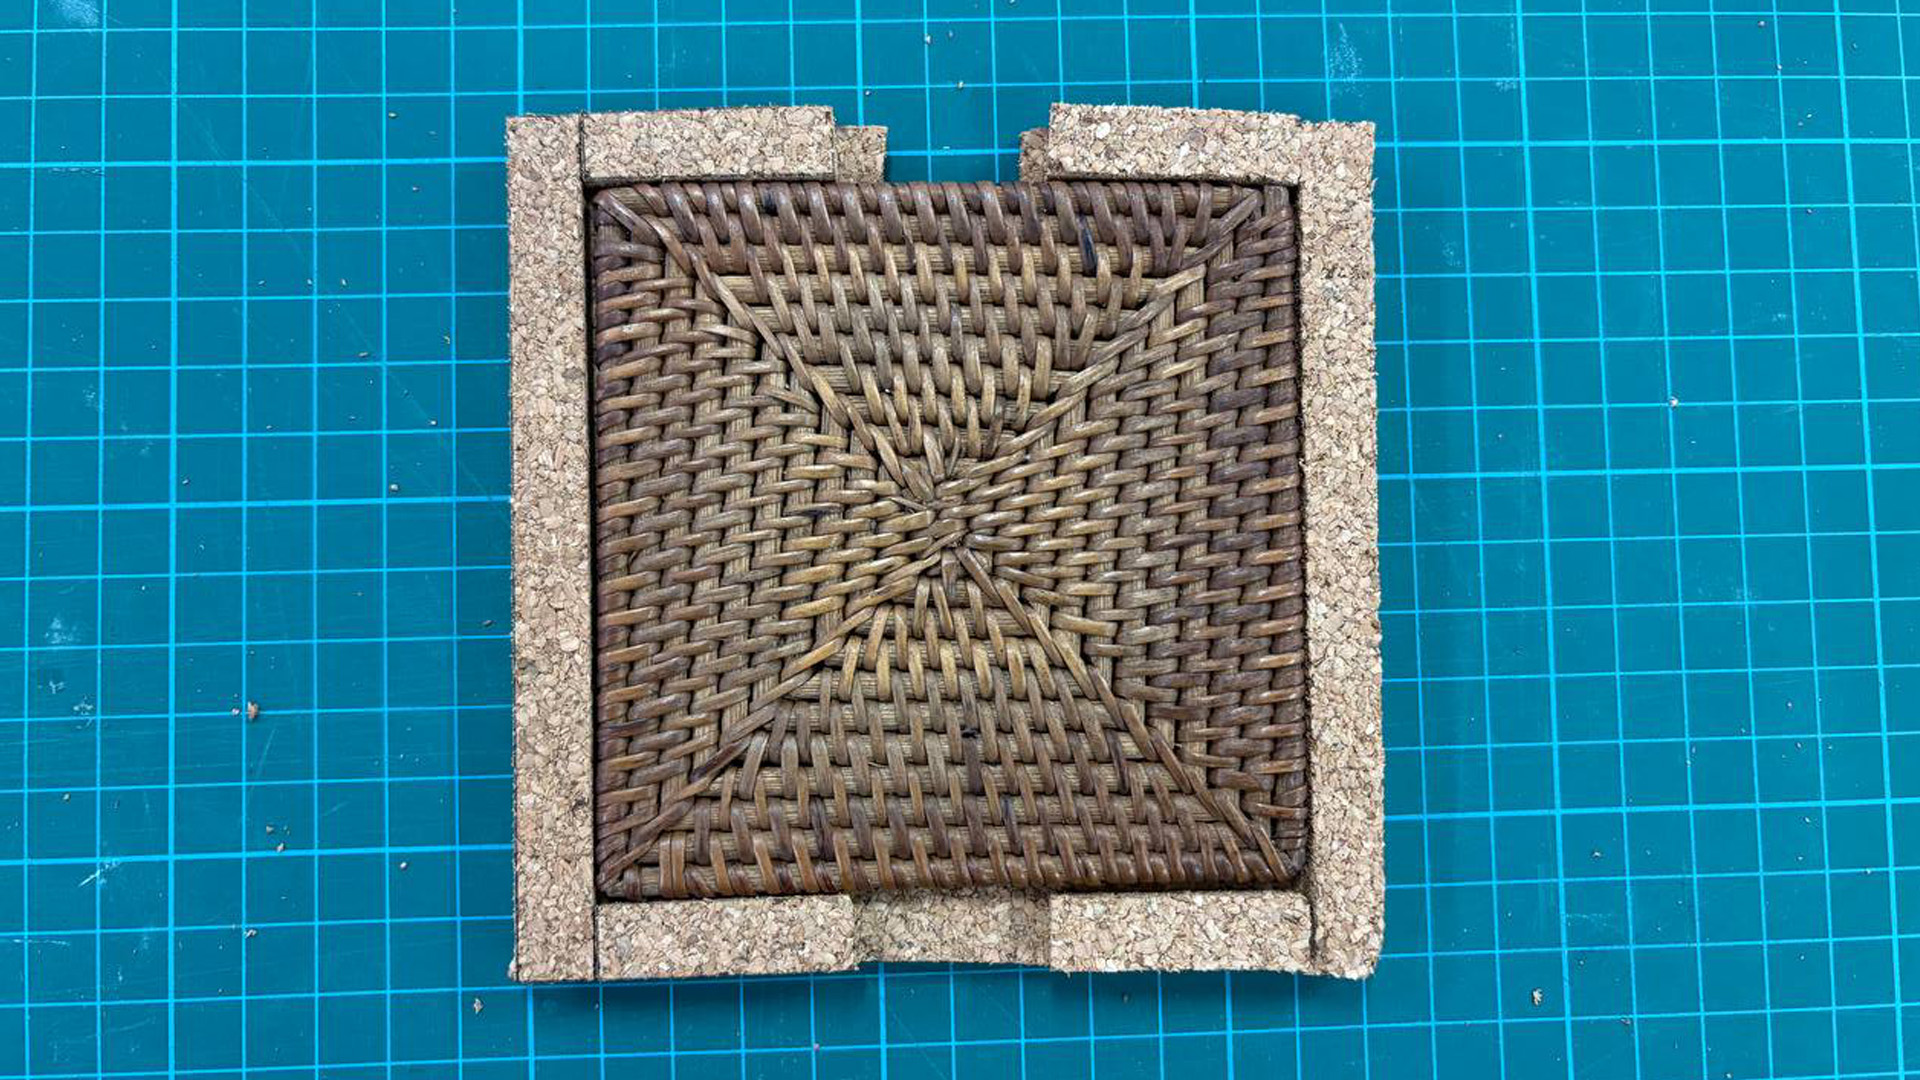
Fits well!
In order to realize the ability to swap out the textures, I needed something to hold it in place without moving because if it moves, I would need to remap the finger tip XY position again. I just used the material which I can find, which is once again the big piece of cork board and cut out components to help me create the texture holder. This process was done after some measurements and planning to ensure that the texture can fit well. I also cut out a hole in the middle of the texture holder to hold the cable and NFC module.
-
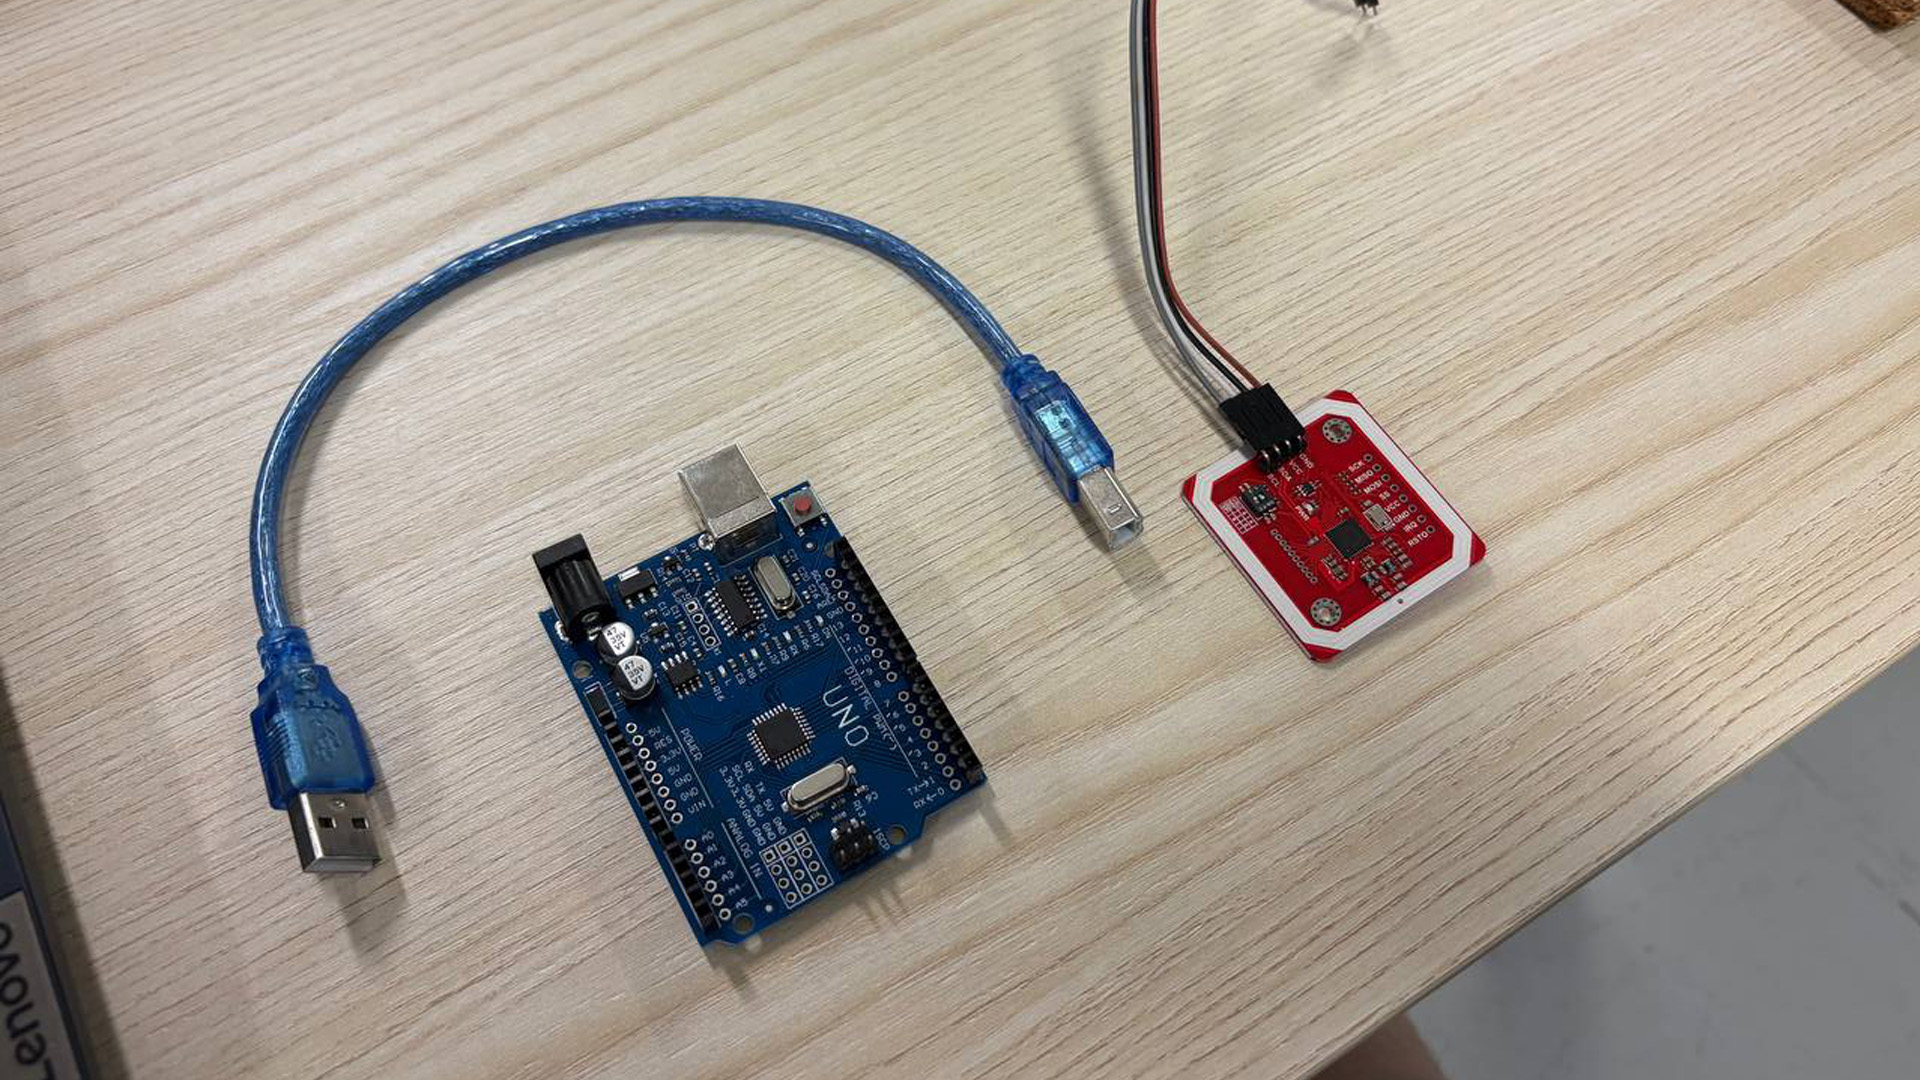
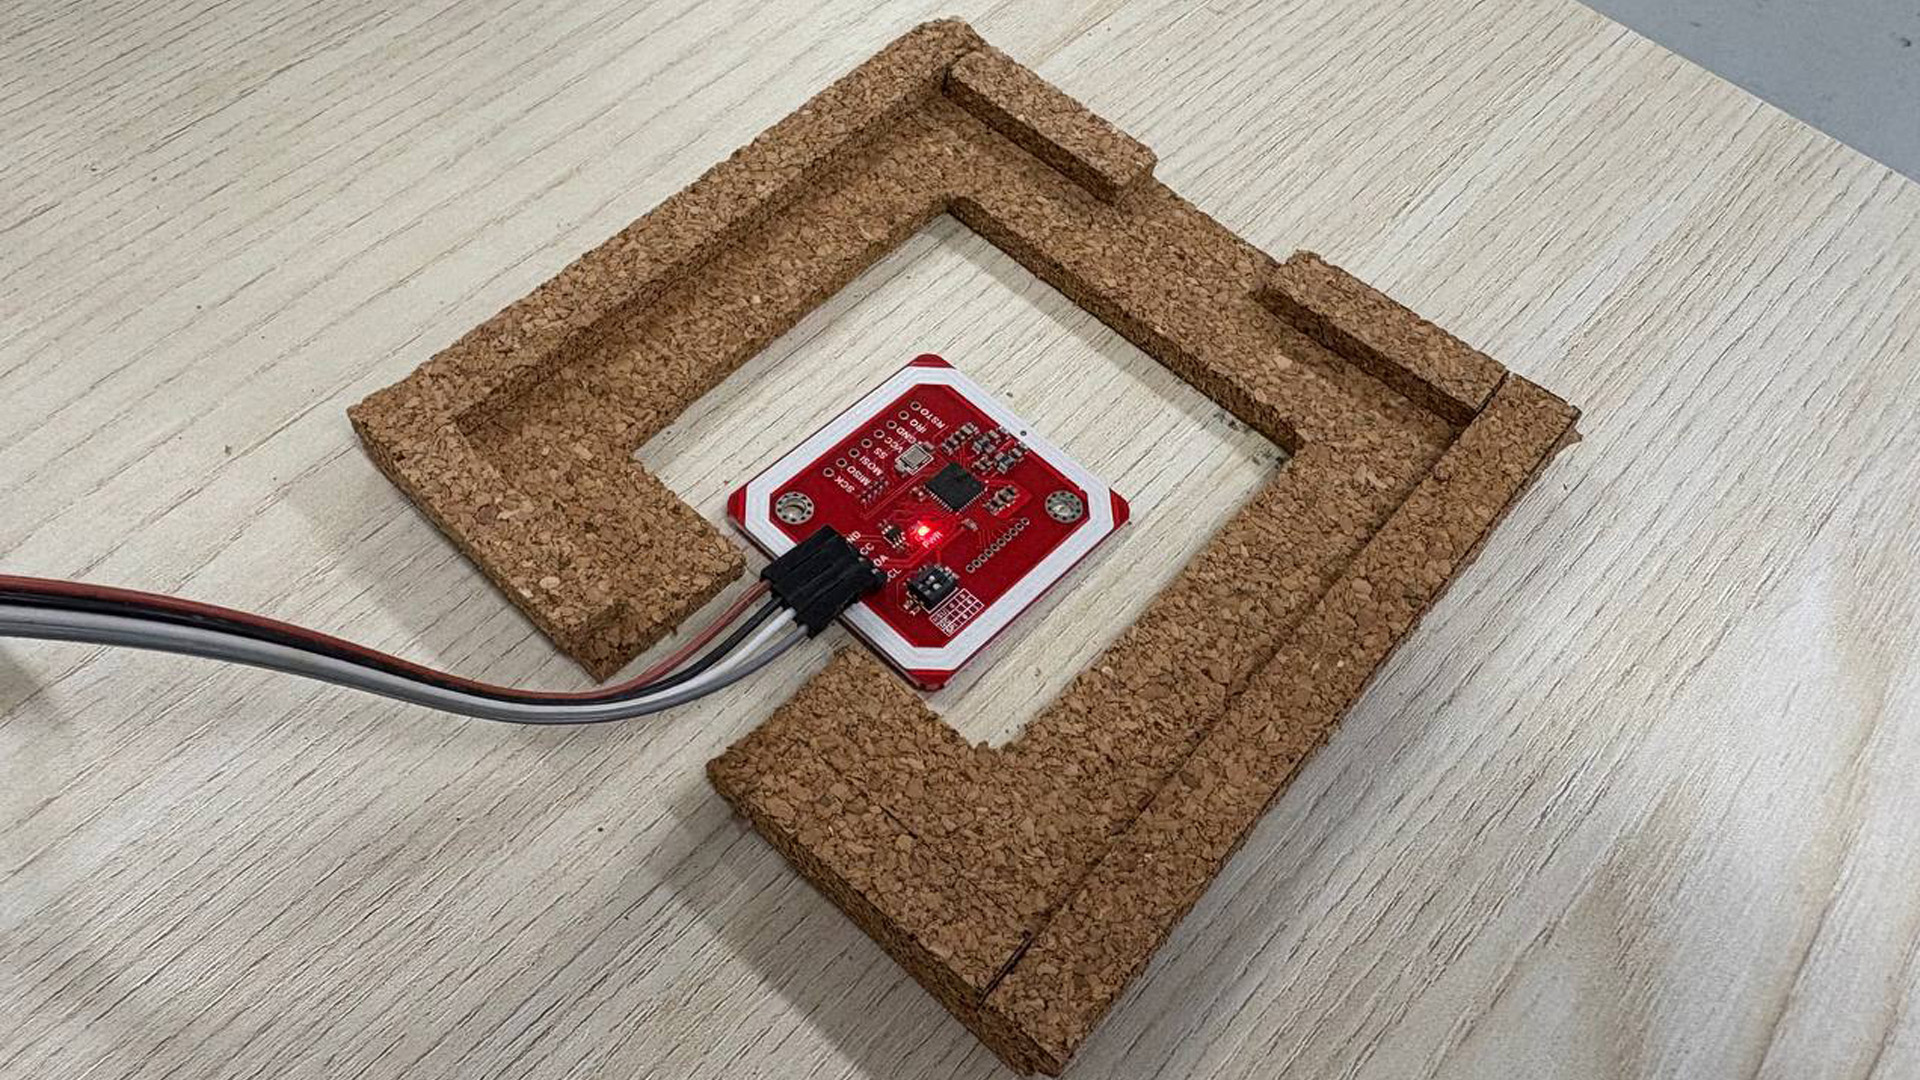
What I used - Arduino and NFC Module
-
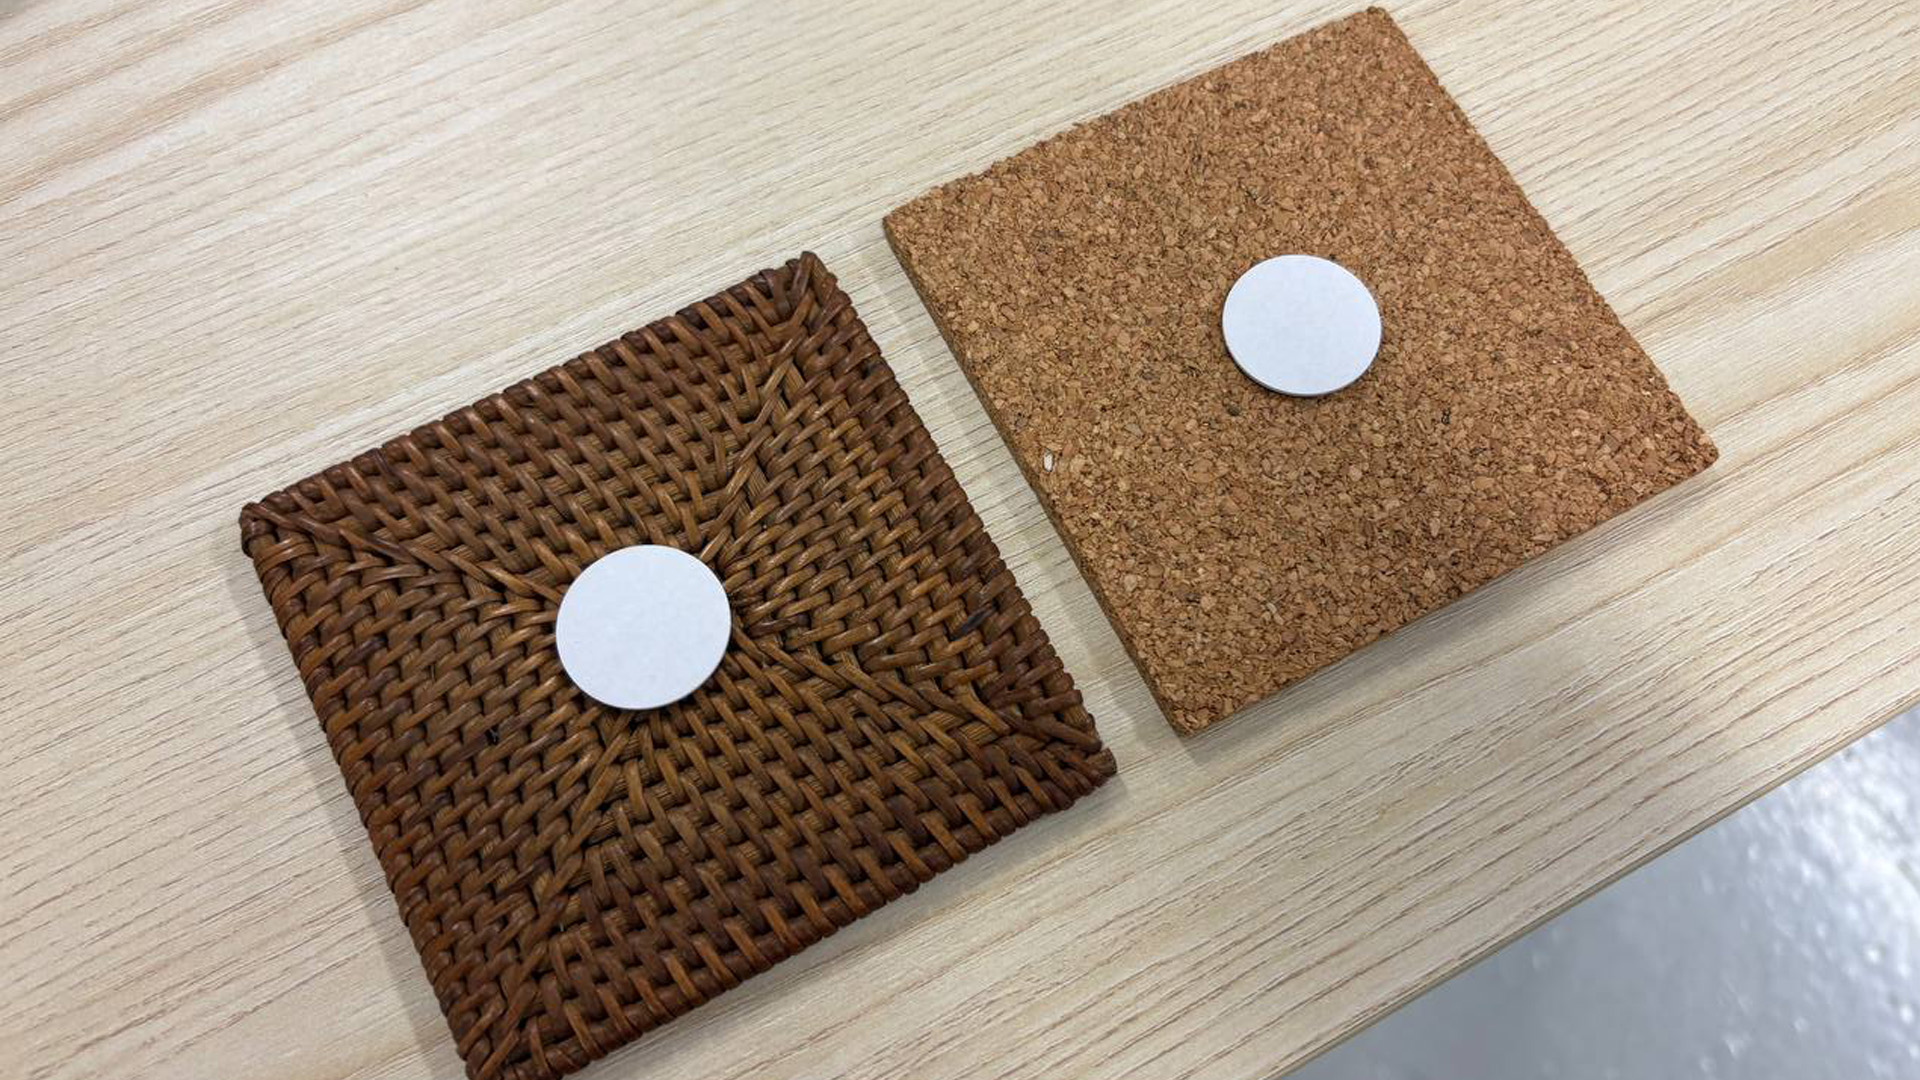
Attached NFC chips behind material
-
Sits inside well!
-
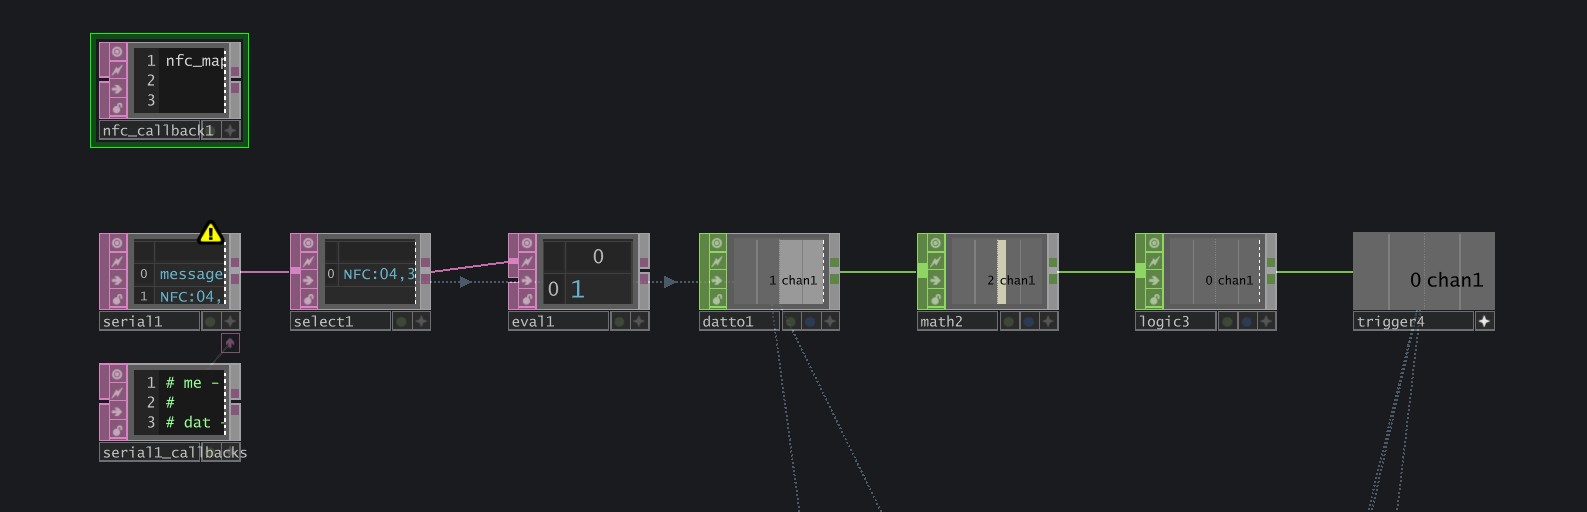
Used Serial DAT to register the Input from Arduino. Converted the received data to usable CHOP data.
I started off by writing some data onto the NFC chips that I placed behind the different materials. I had the Rattan set to "1" and Cork set to "2". Then, I asked Claude AI to help me generate a Arduino code that reads these NFC data and send it to TouchDesigner. Surprisely, the generated code actually works well! In TouchDesigner, I then converted the received Arduino data to usable CHOP data, which then allows me to map it to a Switch CHOP, allowing it to basically trigger the switching when we swap out textures.
The final touches I did was to add a audio voiceover that calls out the name of the material when the switch takes place. Just a small detail but I thought it was quite good!
In a earlier iteration, I was using a App called ZIGSIMPRO, which is basically a mobile phone arduino to receive NFC data. However, the received data would return back to 0 after a set period of time, which means that the switch lasted only a few seconds. By changing to an actual NFC module with Arduino, this issue was fixed as the NFC module was constantly reading the NFC chip data.
I actually spent quite abit of time exploring and tweaking the visuals to become what it was. It was also abit challenging to find out which parameters to change admist all these different nodes. However, the notes I took previously did help me quite abit in figuring out what was going on.
Andreas liked the visuals and the interactions. He found that even without the visuals, the sounds were quite intriguing by itself. The mapping was also quite accurate. Overall got quite a positive feedback!
I like it! I think that it's definitely a improvement from my previous 2 experiments because It was more explorative in the sounds and visuals. I feel that one of the things that makes this experiment work was the experience of touching the texture and have that exact point of interaction transform on the TD visual. Also, the use of NFC made it quite responsive as well. Overall a successful experiment in my book (not to be complacent of course).
1. Continue exploring integration of Arduino.
2. Push for more unique visuals, learn more.
3. Think of new ways to interact with the material.